What this covers: A complete practical guide to black and white photography — how tone, light and contrast work differently without colour, how to choose the right film, which filters do what, how to develop your own film, and why black and white changes how you see as well as what you produce.
Formats covered: 35mm film, 120 medium format, and digital black and white. All film references draw on real field use with cameras including the Zenza Bronica ETRSi, Canon AE-1 Program, and Canon EOS R5.
Black and white photography is not the absence of colour. It is a different way of reading a scene — one that trades the information colour gives you for something less immediate and more considered. Without colour to identify and separate subjects, everything else has to do more work: the relationship between light and shadow, the texture of surfaces, the geometry of shapes within the frame, the quality of the light itself.
Those demands are what make black and white photography worth pursuing seriously. It is more unforgiving than colour in some respects — a poorly lit image has nowhere to hide — and more generous in others. A grey, overcast sky that produces a flat, lifeless colour photograph can produce a beautiful black and white one if the tonal range in the scene itself is interesting. The medium rewards a different kind of looking.
This guide covers everything you need to begin shooting in black and white or to improve work you are already making — from understanding how tones work, through film selection and filter use, to development and the specific qualities that film and digital bring to monochrome work.
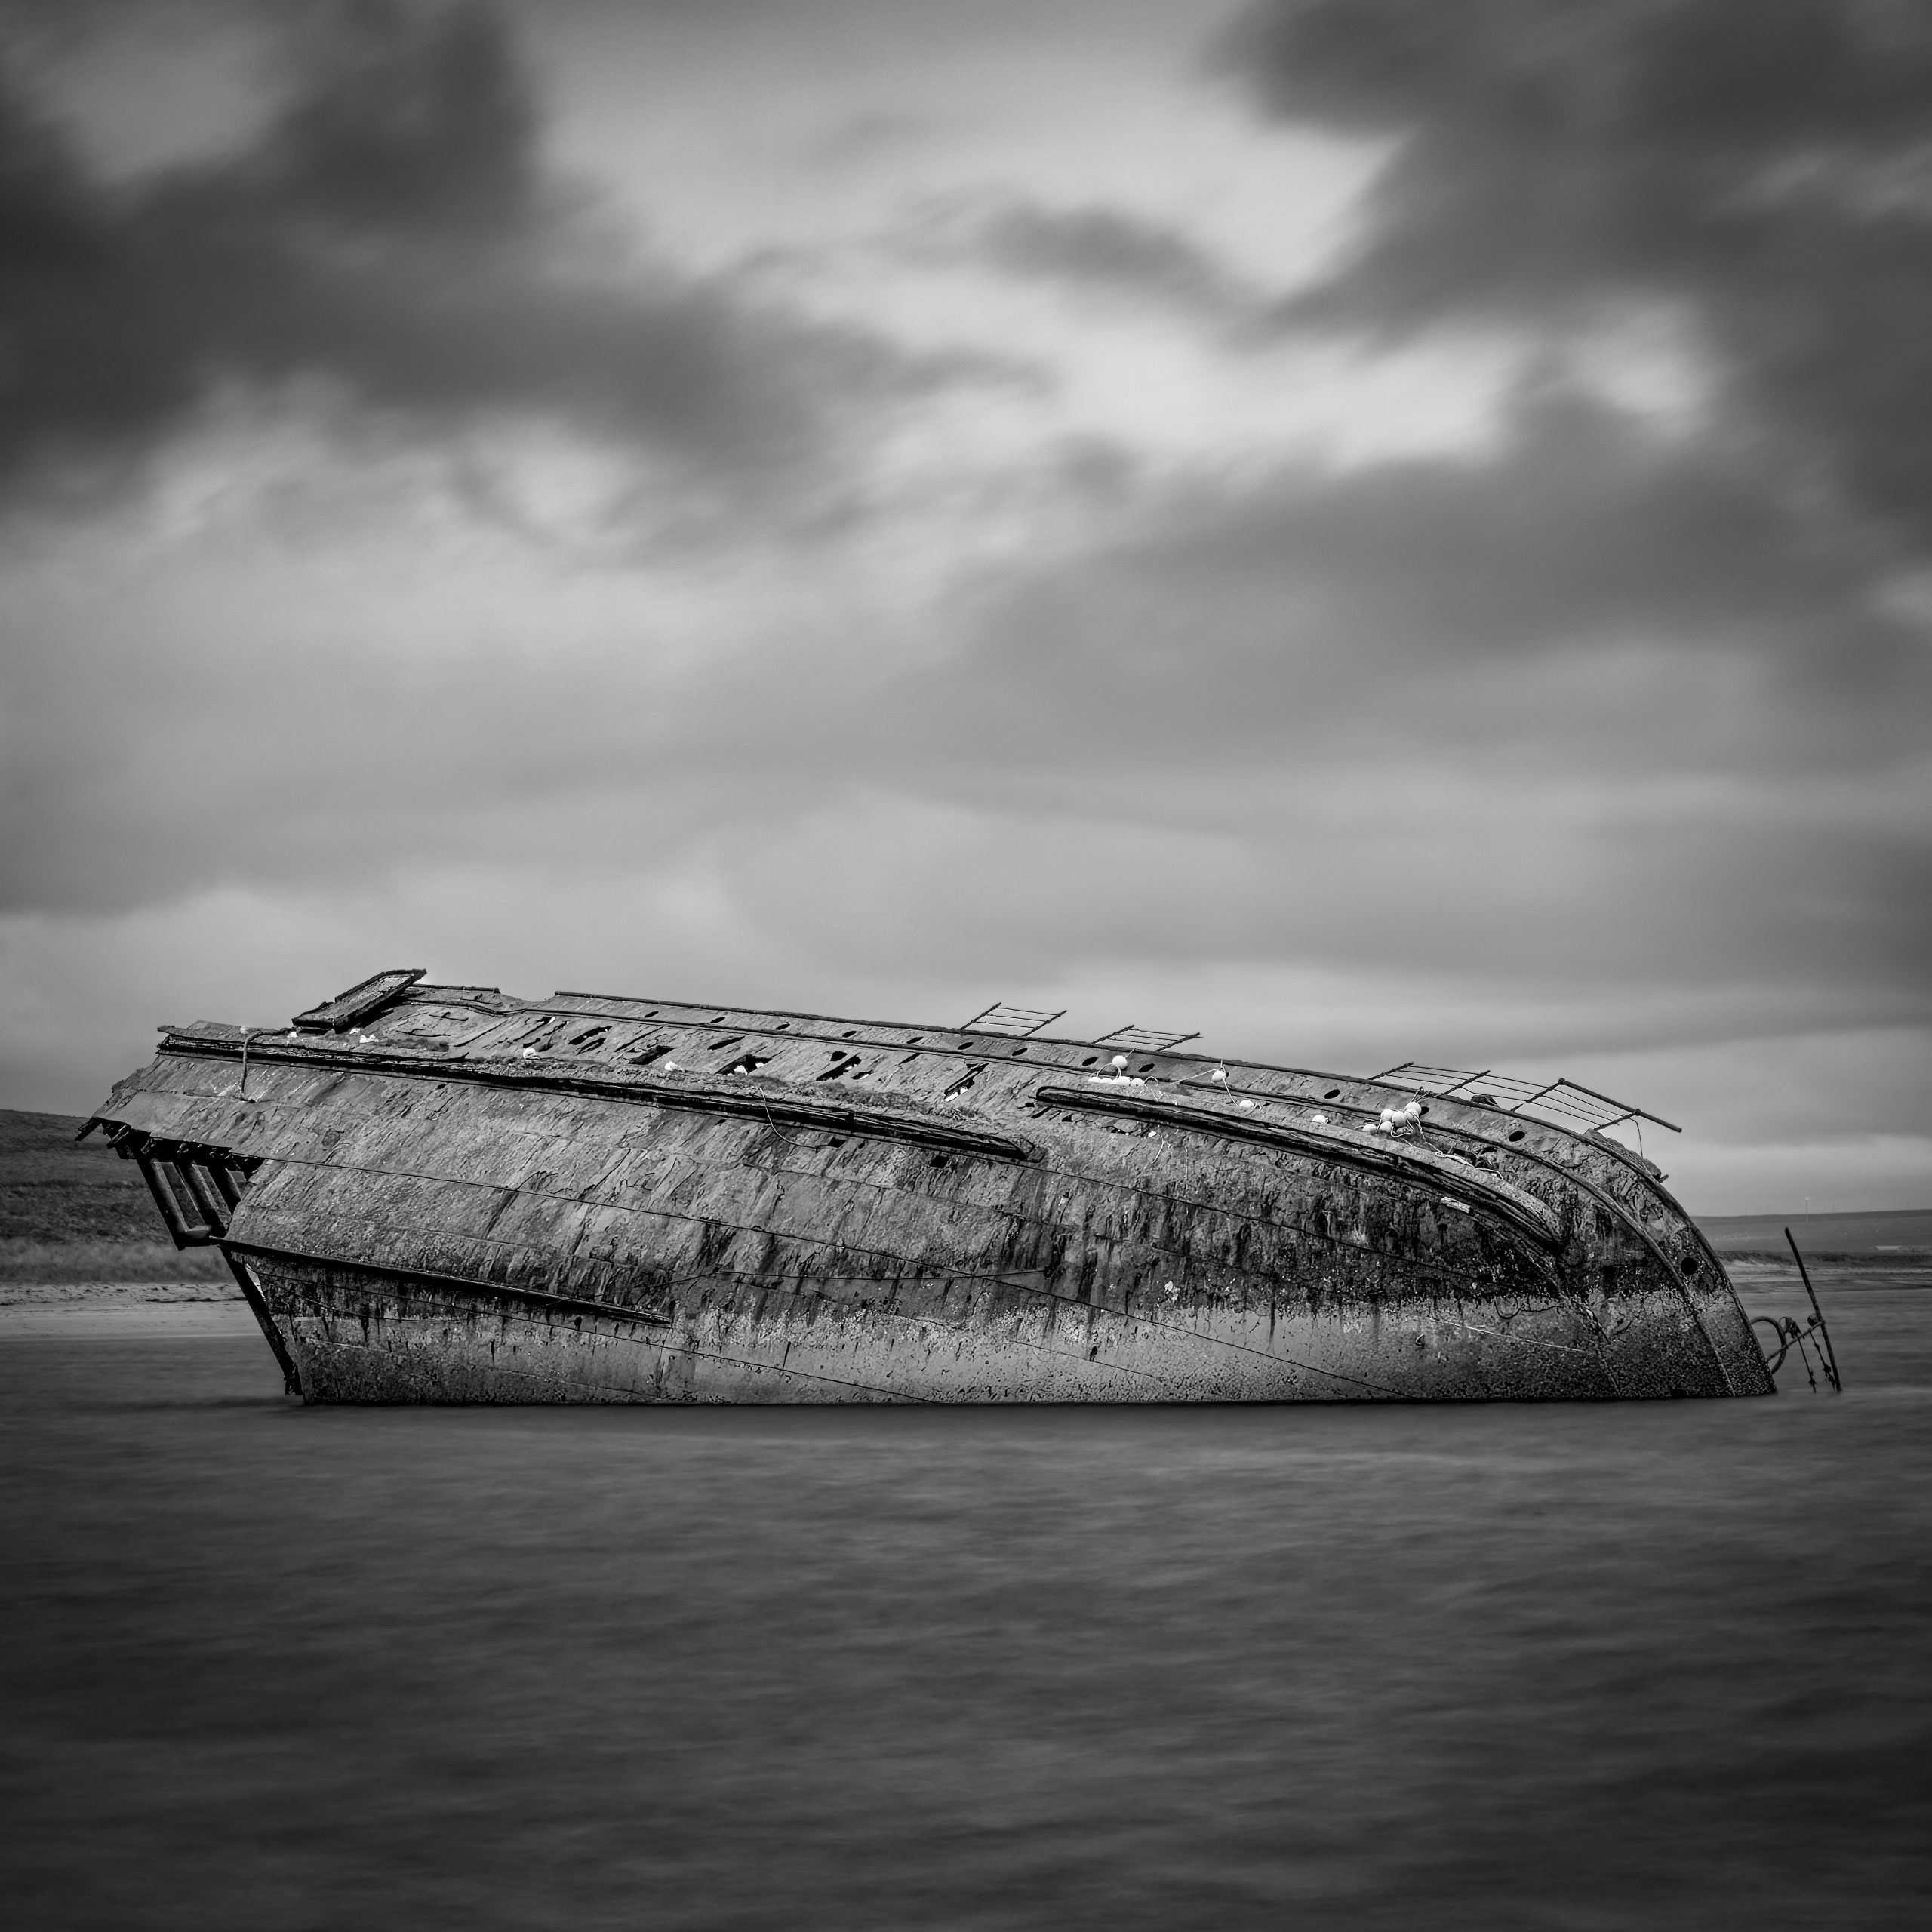
The Reginald, Scapa Flow, Orkney — a wreck photograph that illustrates what black and white does best: texture, tonal depth, and a quality of atmosphere that colour would dilute rather than enhance.
How Tone Works Without Colour
The first thing to understand about black and white photography is that colour and tone are not the same thing, and the camera does not see them the same way you do. Two colours that look entirely different to the eye — a saturated red and a saturated green, for example — can record as almost identical grey tones on panchromatic black and white film. Two colours that look similar to the eye — a pale blue and a pale yellow — can record as noticeably different tones.
This matters because it means the tonal map of a black and white image is not simply a desaturated version of the colour scene. It is a translation, and like any translation it involves choices — some made by the film or sensor, some made by the photographer through exposure, filtration, and development. Understanding that translation is what separates black and white photography from colour photography with the saturation removed.
In practical terms, learning to see tonally means asking a different set of questions when you look at a scene. Not “what colours are here?” but “how much contrast is there between the elements I want to separate?” and “where does the light fall, and what does it do to surfaces?” A weathered stone wall in raking morning light has extraordinary tonal depth in black and white — the texture visible in every irregularity of the surface. The same wall in flat midday light becomes a uniform grey slab that a black and white photograph has nothing to work with.
Light and Shadow — The Core Discipline
If colour photography is primarily about colour relationships, black and white photography is primarily about the relationship between light and shadow. This is not a metaphor. The tonal range of a black and white image — from the deepest shadow to the brightest highlight — is its fundamental structure, and everything else in the photograph is arranged within and against that structure.
The quality of light matters enormously. Hard, directional light — early morning or late afternoon sun, a single artificial source — produces strong shadows with defined edges, which separates forms clearly and gives surfaces their texture. Soft, diffuse light — overcast sky, open shade — produces gentle shadows with gradual transitions, which can produce beautiful tonal gradation in the right subject but lacks the contrast to give drama or depth to anything that needs it.
Neither quality of light is better in itself — they suit different subjects and different intentions. Hard light suits architecture, texture subjects, landscapes where drama matters. Soft light suits portraits, woodland work, scenes where a quiet, even tonality is the point. Knowing which quality of light suits your subject, and being willing to wait for it or return when it arrives, is one of the most fundamental disciplines in black and white photography.
Black and White on Film vs Digital
Black and White Film
- Grain with genuine tonal character — not noise
- Wide highlight latitude — particularly medium format
- Forces deliberate, considered exposure
- Each frame has a material cost that sharpens attention
- Development gives creative control over contrast and tone
- Medium format negatives have exceptional tonal depth
Digital Black and White
- Full post-processing control in raw — luminosity, contrast, tone curves
- Individual colour channel control — equivalent to multiple filters
- Instant review — adjust and reshoot in the same session
- No ongoing cost per frame
- High-ISO performance exceeds film in low light
- Easy to experiment across a wide tonal range
The honest answer to “film or digital for black and white?” is that they are different tools that produce different results, and understanding what each one offers is more useful than arguing for one over the other. Film produces a tonal quality — particularly in the highlights and in the grain structure — that digital conversion does not replicate despite the quality of modern emulation software. Digital produces flexibility, precision, and low-light performance that film at equivalent sensitivities cannot match.
For a full comparison of how both mediums work in practice across a range of subjects and conditions, the film vs digital guide covers this in detail. For the specific qualities of film grain — what it is, what produces it, and how to control it — the film grain guide goes into the physics and practice.
Which Black and White Film to Use

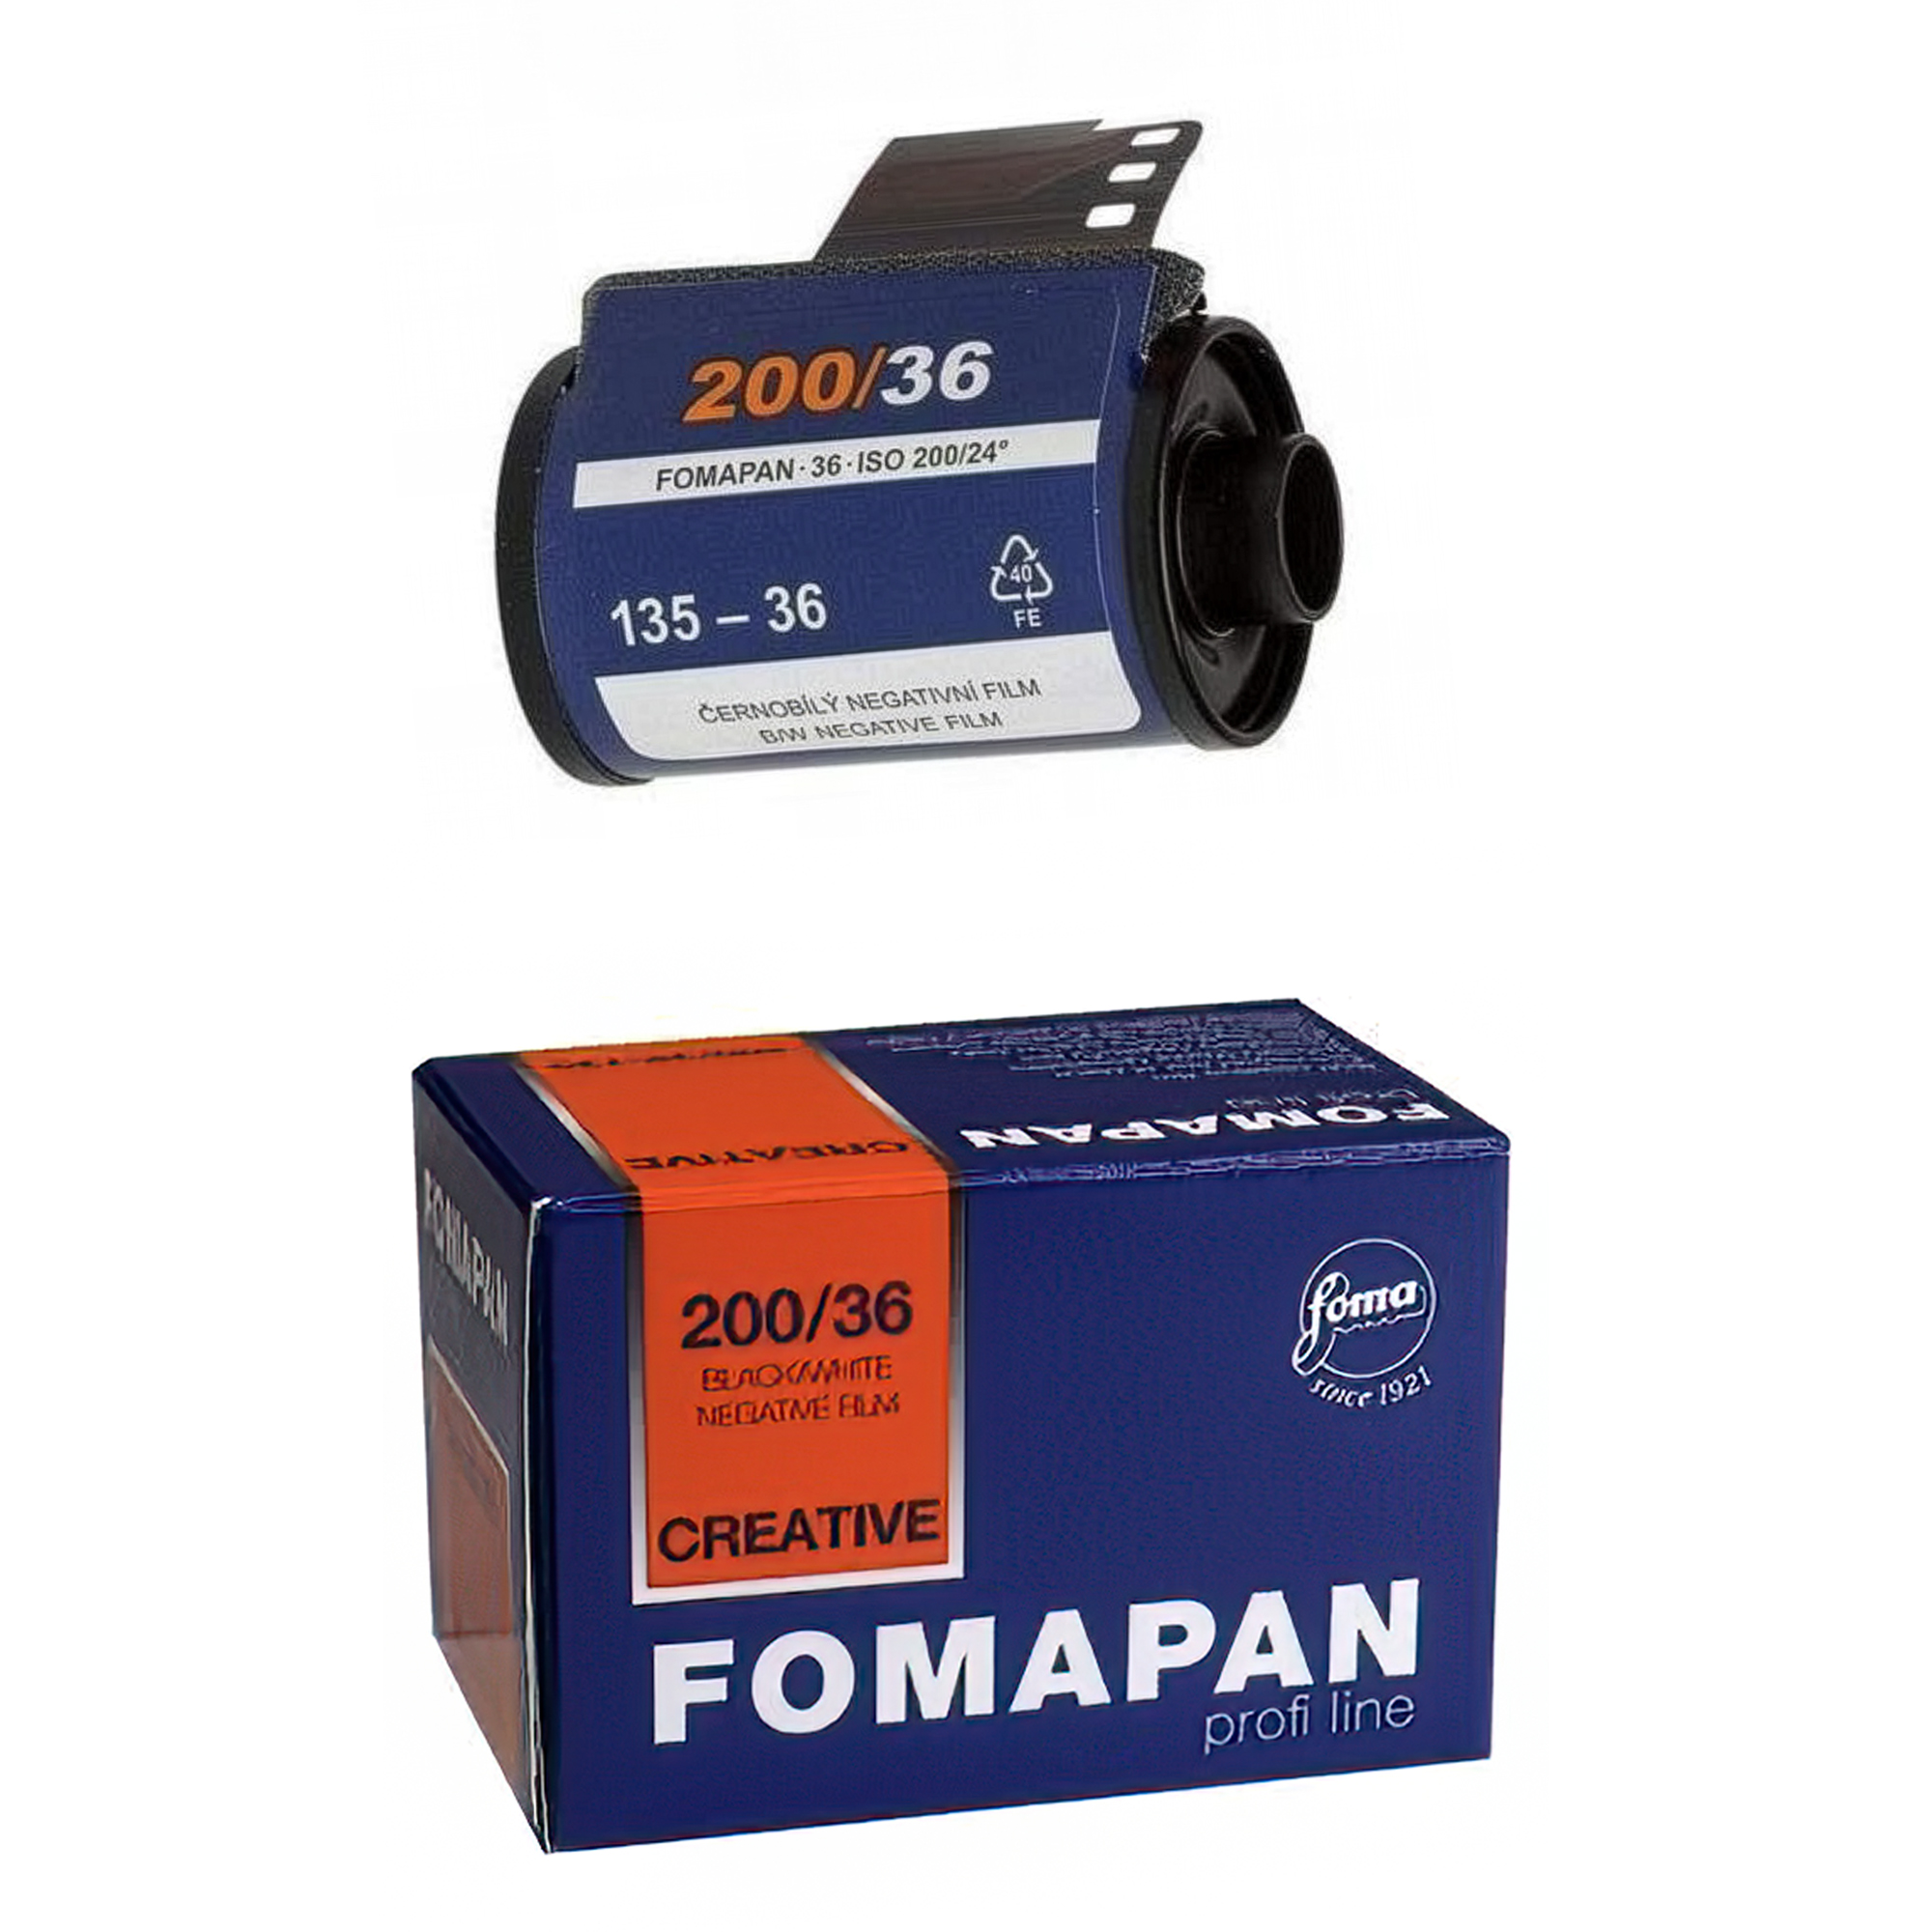
Kentmere 200 and Fomapan 200 — two of the more affordable mid-speed options for black and white film photography. Both suit good to reasonable light; neither has the pushing latitude of a 400-speed stock.
Film choice in black and white photography is not just about ISO speed, though speed is the starting point. Each film stock has a character — a particular grain structure, tonal rendering, and response to light and development — that suits certain subjects and conditions better than others. Understanding those differences is what the guide to choosing the right film covers in full. The summary here covers the main categories.
| Speed Range | Best For | Films to Consider | Avoid When |
|---|---|---|---|
| ISO 25–50 | Bright contrasty light, maximum detail, long exposure with ND | Rollei Ortho 25, Ilford Pan F Plus 50 | Overcast days, low light, handheld without tripod |
| ISO 100–125 | Good light, landscape detail, medium format | Ilford FP4 Plus 125, Kentmere Pan 100, Fomapan 100 | Deep shade, variable or failing light |
| ISO 400 | All conditions — the practical default for most shooting | Ilford HP5 Plus, Kodak Tri-X 400, Kentmere Pan 400 | When fine grain is the absolute priority |
| ISO 800–3200 (pushed) | Low light, handheld in poor conditions, deliberate grain and contrast | HP5 or Tri-X pushed — see pushing film guide | When clean, low-grain results are needed |
If you are new to black and white film and unsure where to start, load a roll of Ilford HP5 Plus 400. It is the most forgiving and versatile black and white film available — fast enough to work in most conditions, fine enough in grain for most subjects, and consistent enough in its behaviour that any variations in your results will come from your choices rather than the film’s unpredictability.
Practical Black and White Shooting Techniques
Expose for the Shadows
Black and white film — particularly faster stocks — has generous highlight latitude. It can hold detail in bright areas even when slightly overexposed. What it cannot do is recover shadow detail that was never recorded. A slightly generous exposure, biased toward retaining shadow information, almost always produces better negatives than a conservative one that underexposes the shadows in pursuit of protecting the highlights. The instruction to “expose for the shadows and develop for the highlights” reflects this: give the film enough light in the dark areas of the scene, then control contrast in development.
Learn to Read Contrast
Before you raise the camera, look at the scene and ask: where is the lightest area, and where is the darkest? How much difference is there between them? A scene with a very wide tonal range — bright sky and deep shadow in the same frame — may need careful exposure or development decisions to hold detail at both ends. A flat, low-contrast scene may need a film with more inherent contrast, or a developer that emphasises it, or a filter to introduce tonal separation that the light is not providing.
Use Filters to Control Tones
Filters for black and white photography work by blocking certain wavelengths of light, which darkens the tones corresponding to those wavelengths in the final image. A yellow filter slightly darkens blue sky and improves cloud contrast — the most subtle and practical filter for everyday landscape work. An orange filter produces a stronger version of the same effect. A red filter dramatically darkens blue sky and produces very high contrast, approaching an infrared quality in some conditions. A green filter lightens foliage tones and is useful for woodland or portrait work.
The full guide to yellow filter photography covers filter use in detail with real results from a Bronica ETRSi session at the Roman walls of Silchester. It is the practical starting point for anyone new to filter use in black and white work.
Compose for Shape and Texture
Without colour to separate and identify elements in a frame, the structural elements of composition — line, shape, form, texture, and the relationship between light and shadow areas — do more of the work than they do in colour photography. Subjects with strong geometric structure, pronounced texture, or clear tonal separation between foreground and background tend to work well in black and white. Subjects whose interest lies primarily in colour — a field of wildflowers, an autumn woodland — are more difficult to translate successfully.
Look for subjects where the physical surface of things matters: stone, bark, water, weathered metal, aged wood. These are the subjects that black and white renders most richly, because their texture is expressed in the tonal variations across their surfaces rather than in their colour.
Developing Your Own Black and White Film
Developing black and white film at home gives you complete control over the final look of your negatives — contrast, grain structure, shadow detail, and tonal range are all affected by development decisions. It is also one of the most satisfying parts of the film photography process: the moment you unroll a developed film for the first time and hold it up to the light is one that does not become routine.
The process requires a developing tank, a changing bag or darkroom for loading the film onto the reel, a thermometer, a timer, and three chemicals: developer, stop bath, and fixer. The complete film development guide walks through every stage in detail, from loading the reel in darkness through to washing, drying and storing your negatives. It covers Rodinal — the developer used throughout this site — as well as the principles that apply to any developer.
Developer choice has a significant effect on the character of the final negative. Rodinal at high dilutions produces pronounced, sharp-edged grain and high acutance — edge contrast that gives the impression of exceptional sharpness. Fine-grain developers suppress grain at the cost of a slight reduction in sharpness. Stand development — leaving the film in a highly diluted developer for an extended period with minimal agitation — produces excellent tonal separation and is particularly well suited to scenes with a wide tonal range.
Putting It Together — A Working Example
Most of the landscape work in the long-term Echoes of Calleva project at the Roman walls of Silchester is shot in black and white — partly because the subject suits it, and partly because the discipline it imposes on the process matches the intention behind the work. Returning to the same location repeatedly across seasons and conditions, paying close attention to what the light is doing to the stone and the trees and the sky, is a practice that black and white photography supports better than colour.
The film used most often for that project is Ilford HP5 Plus in 120 format through the Zenza Bronica ETRSi, developed in Rodinal. The combination produces negatives with a tonal quality — the grain integrating with the texture of the stone, the sky holding just enough detail even on overcast days — that has become central to how the project looks and feels. Medium format negatives have a tonal depth that 35mm cannot quite match at the same magnification, which matters for a subject where the surface quality of ancient stone is part of what the photographs are about.
The guide to photographing ancient ruins with film covers the specific approach in more detail, including location notes and technical decisions from multiple visits across different seasons.
What is the best black and white film for beginners?
Ilford HP5 Plus 400 is the most practical starting point for almost everyone. It is fast enough to use in most conditions without a tripod, forgiving enough to handle a stop of exposure error, available in both 35mm and 120 format, and consistently produces results with a pleasing tonal character. Once you are comfortable with HP5, the differences between other film stocks become easier to appreciate and act on deliberately.
Do you need special equipment to shoot black and white film?
No — any film camera will shoot black and white film. The camera does not need to know what film is loaded; you simply put a roll of black and white film in and shoot it as you would any other. The additional equipment that becomes relevant is a developing tank and chemicals if you want to develop at home, and a changing bag or darkroom for loading the film onto the reel in darkness. For scanning, most flatbed scanners handle black and white negatives well, or a camera scanning setup using a digital body and macro lens gives excellent results.
What subjects work best in black and white photography?
Subjects with strong tonal contrast, pronounced physical texture, clear geometric structure, or a strong relationship between light and shadow tend to work best. Architecture, landscape with interesting skies, street photography, portraits with directional light, and subjects with aged or weathered surfaces are all natural fits. Subjects whose primary interest is their colour — bright florals, autumn foliage, blue-sky travel photography — are more difficult to translate into compelling black and white images.
How do filters affect black and white photography?
Filters for black and white photography work by blocking certain light wavelengths, which darkens the corresponding tones in the final image. A yellow filter slightly darkens blue sky and improves cloud contrast. Orange produces a stronger version of the same effect. Red dramatically darkens sky and produces very high contrast. Green lightens foliage tones. All filters require exposure compensation — typically between one and three stops depending on the filter strength. The yellow filter guide covers the practical use of contrast filters in detail.
Is black and white photography better on film or digital?
They produce different results rather than one being objectively better. Film has a grain structure and tonal quality — particularly in the highlights — that digital conversion does not fully replicate. Digital has flexibility, precision, and low-light performance that film cannot match. Many photographers use both: film for projects where the process and the physical quality of the negative matter, digital for work where speed, flexibility, and post-processing control are priorities. The full comparison is in the film vs digital guide.
What is the difference between Ilford HP5 and Kodak Tri-X in black and white?
Both are ISO 400 films with strong reputations for black and white work, but they have different characters. HP5 Plus produces smoother tonal gradations and handles landscape subjects particularly well. Tri-X has a sharper, more crystalline grain structure and produces harder-edged, higher-contrast results that suit street photography and architecture. Both push well; Tri-X pushed to 1600 or 3200 has a particularly distinctive look that has defined a certain aesthetic in black and white photography for decades.
Can I develop black and white film at home?
Yes — black and white film is the easiest and most practical film type to develop at home. The chemicals are straightforward to use, the process takes around 30 minutes once you are comfortable with it, and the results give you complete control over the tonal quality of your negatives. The complete film development guide covers every stage of the process from loading the reel in a changing bag through to washing, drying and storing the finished negatives.
What is pushing film and why is it used in black and white photography?
Pushing film means exposing it at a higher ISO than its rated box speed — treating a 400-speed film as ISO 800 or 1600, for example — and then extending development time to compensate for the underexposure. The result is higher contrast, more pronounced grain, and deeper shadows. It is used both as a practical technique for shooting in low light and as a deliberate creative choice when those qualities suit the subject. The guide to pushing film covers the technique with real results from HP5 and Tri-X.
What is the advantage of medium format for black and white photography?
Medium format film — 120 format shot through a camera like the Zenza Bronica ETRSi — produces a physically larger negative than 35mm. That larger negative has more tonal depth, finer apparent grain at equivalent print sizes, and a quality of image that has a distinct presence compared to 35mm. For black and white landscape work in particular, medium format negatives have a tonal richness that rewards careful printing or high-resolution scanning. The medium format photography guide covers the format in full.
This post is part of the Film Photography Hub — reviews, guides, and real-world observations from shooting and developing black and white film.