
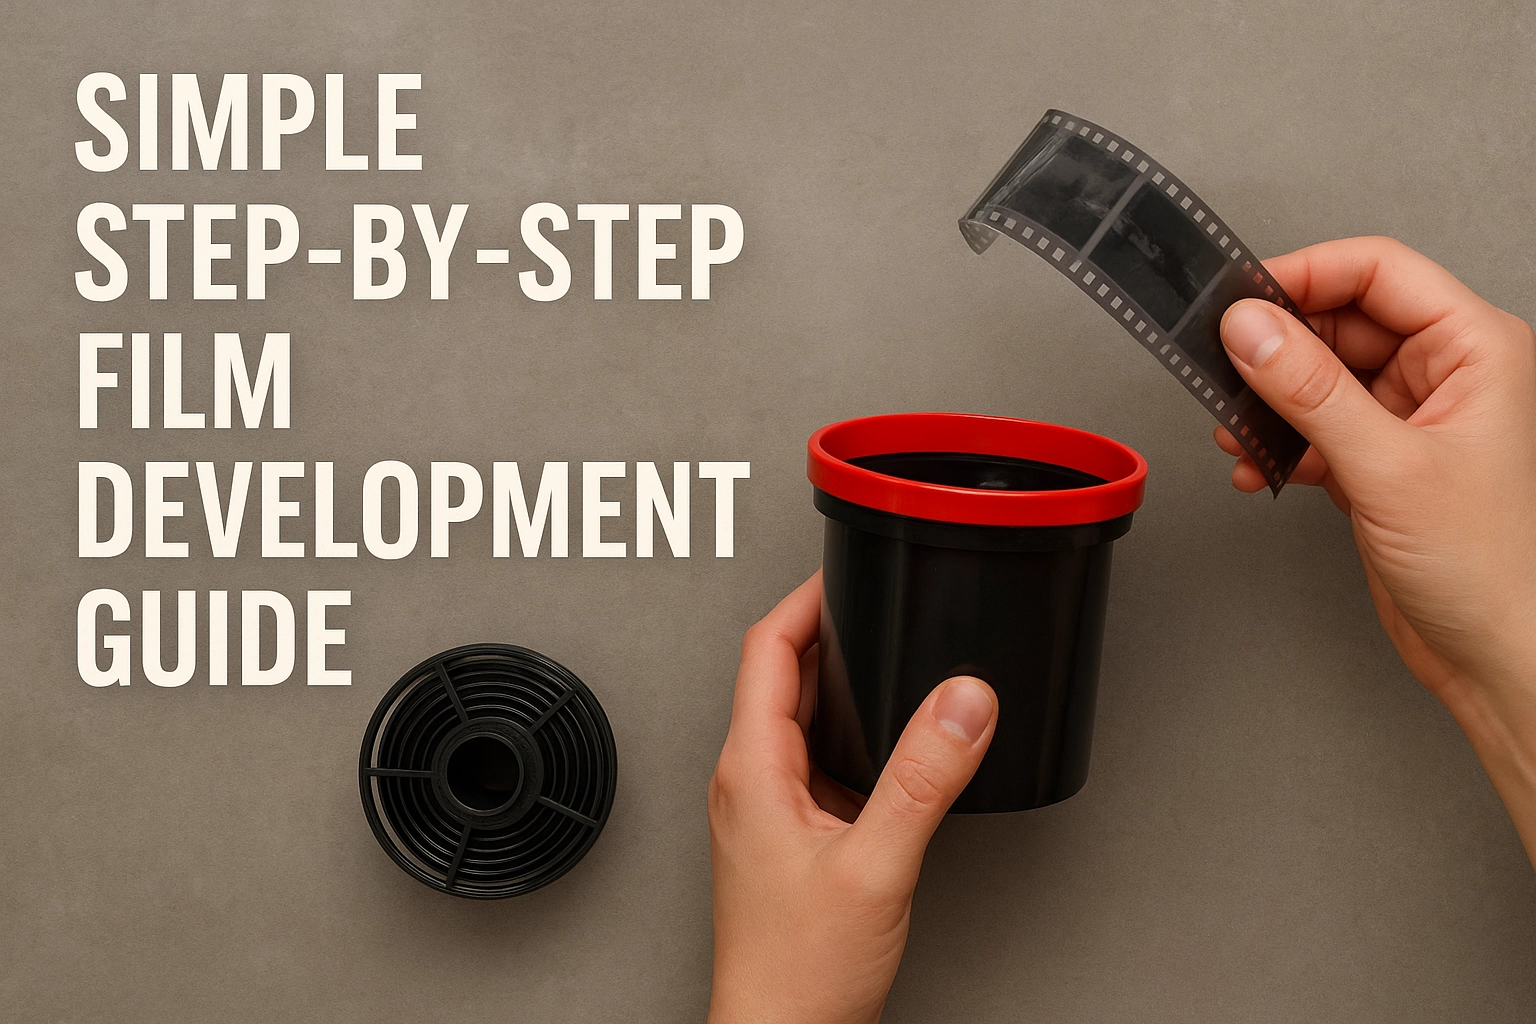
What this guide covers: A complete step-by-step walkthrough of developing black and white film at home — from setting up your workspace and loading the reel, through developer, stop bath and fixer, to washing, drying and storing your negatives.
Applies to: 35mm and 120 medium format black and white film. Developer used in this guide: Rodinal, diluted 1+50 at 20°C — though the process is essentially the same for most developers.
Skill level: Complete beginners welcome. If you have already exposed a roll and are wondering what comes next, this is where to start.

Camera, developer, stop bath and fixer — everything you need to start developing at home.
There is a particular satisfaction in taking a roll of film from camera to finished negative entirely under your own roof. No courier bags, no waiting, no guessing at what the lab might do with your exposures. Just you, the chemicals, a quiet kitchen, and the slow emergence of images from silver and light.
I develop all my black and white film at home — rolls from the Zenza Bronica ETRSi in 120 format, and 35mm rolls from a range of cameras including the Canon EOS 300V. My developer of choice is Rodinal — a single-use liquid concentrate that keeps almost indefinitely, dilutes easily, and produces negatives with a character that suits the kind of landscape work I do. If you are still working out which film to put in the camera in the first place, the guide to choosing the right film is a good place to start before coming back here.
This guide walks through every stage of the home development process. It is written for beginners but does not skip the details that matter. By the end, you will understand not just the steps but why each one exists — which makes the difference between following a recipe and actually knowing what you are doing.

The three core chemicals: developer, stop bath and fixer. Everything else is preparation.
Equipment & Chemicals Checklist
- Exposed film — 35mm or 120 medium format, black and white.
- Developer — Rodinal (or your developer of choice). Check the dilution and time for your specific film using a development chart such as the one at Digitaltruth.
- Stop bath — a weak acidic solution that halts development instantly. Some photographers use plain water; a dedicated stop bath is more reliable.
- Fixer — makes the image permanent by removing unexposed silver halides. Keep it fresh — exhausted fixer is a common cause of pink-tinted negatives.
- Development tank and reels — a light-tight tank (Paterson or similar) with the appropriate reels for your film format.
- Changing bag or darkroom — for loading the film onto the reel in complete darkness.
- Thermometer — temperature control matters. Aim for 20°C.
- Timer — a phone timer works fine, but a dedicated darkroom timer is easier to read with wet hands.
- Measuring graduates — at least two, ideally three, to avoid cross-contaminating chemicals.
- Film clips or clothespins — for hanging the film to dry.
- Wetting agent — a few drops in the final rinse water significantly reduces drying marks.
- Archival sleeves or negative holders — for storing your dried negatives safely.
A word on safety before we begin: developers and fixers are mild irritants and should be handled with gloves in a well-ventilated space. Follow the manufacturer’s dilution instructions, store chemicals in clearly labelled bottles away from children and pets, and dispose of used chemicals at a designated hazardous waste facility rather than pouring them down the drain in volume.
Set Up Your Workspace
Before you touch a film canister, have everything laid out and within reach. You will need a dry area for the changing bag and tank loading, a flat surface near a sink for the chemical stages, and somewhere dust-free to hang the film afterwards.
The only stage that requires complete darkness is loading the film onto the reel. Everything else — mixing chemicals, pouring into the tank, agitating — can be done in normal light once the tank lid is sealed. If you are using a changing bag rather than a darkroom, practice the loading motion with a sacrificial roll of film first so your hands know what to do before they are working blind inside the bag.
Load the Film onto the Reel
This is the step that intimidates most beginners, but it becomes straightforward quickly. Inside your changing bag or darkroom, crack open the film canister using a bottle opener on the flat end — the felt-sealed end — and draw the film out from the spool.
For 35mm, trim the leader straight across with scissors kept inside the bag. Feed the film into the reel from the outside in, using the ratchet mechanism to walk it onto the spiral a little at a time. Keep the film taut and straight; if it buckles or binds, back it off slightly and try again. Once fully loaded, place the reel in the tank, fit the lid, and you can now bring the whole thing into the light.
For 120 medium format, the process is slightly different — the film is backed with paper, which you peel away before loading. The reel loading motion is the same. Dry reels are essential; moisture causes the film to stick.

A loaded Paterson reel ready to go into the tank. Getting comfortable with reel loading is the single biggest barrier for beginners — worth practising in daylight first.
Prepare the Chemicals
Mix your chemicals to temperature before you start — 20°C is the standard for most black and white developers, including Rodinal. This matters more for the developer than for the stop bath or fixer, but consistency across all three will give you more predictable results.
For Rodinal at 1+50 dilution, you are mixing roughly 10ml of concentrate with 490ml of water for a single 35mm roll (check your tank’s capacity). Use a development chart — Digitaltruth’s Massive Dev Chart is the standard reference — to find the correct time for your specific film at your dilution and temperature. Ilford HP5 Plus in Rodinal 1+50 at 20°C is a good starting combination if you are undecided.
Develop the Film
Pour the developer into the tank in one smooth movement, start the timer, and immediately tap the base of the tank firmly on a hard surface three or four times to dislodge any air bubbles clinging to the film.
Agitate for the first 30 seconds continuously — I invert the tank slowly and steadily, end over end, rather than shaking it. After that, agitate for 10 seconds at the start of each minute for the remainder of the development time. Consistent agitation gives even development; over-agitation can cause edge streaks or excessive contrast.
When the timer reaches zero, pour the developer out promptly. With a one-shot developer like Rodinal the spent solution goes straight to disposal — it is not reused. If you are pushing film, extended development time is the primary adjustment you make at this stage.
Stop Bath
Pour in your stop bath immediately after the developer is out, and agitate continuously for 30 seconds. The stop bath halts development instantly by neutralising the alkaline developer — without it, development continues while you are pouring and measuring, making precise timing impossible.
Pour the stop bath out (it is usually reusable several times — check the instructions), then give the film a quick plain water rinse before moving to the fixer.
Fix the Film
Pour in the fixer, agitate for the first 30 seconds, then for 10 seconds every minute. Fixing times vary — typically 3 to 5 minutes for most films with a fresh fixer, though hardening fixers take longer. Under-fixed film has a milky, incomplete look and will degrade over time; when in doubt, fix for the full recommended time.
Fixer is usually reusable but does exhaust over time. Keep a record of how many rolls you have run through it. Pour it back into a clearly labelled storage bottle when done.
Wash the Film
Thorough washing is what separates negatives that last decades from ones that fade or stain. The Ilford method is efficient: fill the tank with water at 20°C, invert five times, drain. Refill, invert ten times, drain. Refill, invert twenty times, drain. This removes residual chemicals far more effectively than a continuous running water rinse and uses much less water.
Add a few drops of wetting agent — Kodak Photo-Flo or Ilfotol — to the final rinse water. This breaks the surface tension and dramatically reduces drying marks on the negatives.
Dry the Film
Open the tank, remove the reel, and draw the film off carefully, attaching a clip to each end. Hang it in the most dust-free space you can manage — a bathroom after a shower (steam settles dust) works well in the absence of a dedicated drying cabinet. Do not touch the emulsion surface, and do not use a squeegee unless yours is perfectly clean and soft; scratching a negative at this stage after everything else has gone right is a particular frustration.
Allow the film to dry completely before handling — usually two to three hours at room temperature. Trying to cut or store damp film causes problems.
Cut and Store
Once dry, cut the film into strips — typically six frames for 35mm, four frames for 120 medium format — and slip them into archival polyethylene sleeves. Label each sleeve with the film stock, date, and location. Negatives stored this way in a cool, dry environment will outlast any digital file you care to name.

The kitchen as darkroom — perfectly functional for every stage except reel loading. Most home development happens here.

My home scanning setup — a Canon EOS 5DS R on a tripod, pointed down onto negatives on a lightbox. Camera scanning gives excellent results and costs nothing once you have the equipment.
Black and White Film Development: 20 Common Problems and Solutions
Most development problems have a clear cause once you know what to look for. The table below covers the issues you are most likely to encounter at the beginning, and what to do about them.
| Problem | Likely Cause | Solution |
|---|---|---|
| Underdeveloped negatives | Developer too cold, insufficient time, or incorrect dilution | Use the correct temperature (20°C), check your development time against a reliable chart, and verify dilution ratio |
| Overdeveloped negatives | Developer too hot, too long in the tank, or over-agitation | Lower temperature, reduce development time, and agitate gently only as directed |
| Uneven development | Inconsistent agitation or film not loading evenly on the reel | Agitate consistently, pour chemicals steadily, and ensure film is loaded without overlapping |
| Air bubbles on film | Bubbles trapped against the emulsion when developer is poured | Tap the tank firmly on a hard surface immediately after filling |
| Film stuck on reel | Damp reel or high humidity during loading | Ensure reels are completely dry before use; work in a cool, dry environment |
| Scratches on negatives | Dirty reels, tank, or rough handling during loading | Clean equipment before use, handle film by edges only |
| Fogged film | Light leak during loading, or outdated film stored poorly | Load in absolute darkness, ensure tank is fully sealed, use fresh film |
| Water spots on negatives | Residual water drying unevenly on the film surface | Add a wetting agent to the final rinse and hang film vertically without touching |
| Film not fully fixed | Fixer exhausted or insufficient fixing time | Use fresh fixer and fix for the full recommended time — usually 3 to 5 minutes minimum |
| Excessive grain | Developer too hot, over-agitation, or overexposure in camera | Maintain correct temperature, follow agitation guidelines, and check camera exposure |
| Edges of negatives undeveloped | Insufficient chemical volume for the tank | Ensure chemicals fully cover the film — check your tank’s minimum volume requirement |
| Streaks or drag marks | Dirty reels or tank, or developer drying on film between steps | Clean all equipment thoroughly before use and minimise delays between stages |
| Purple or pink tint | Incomplete fixing or insufficient washing | Re-fix for an extended period and wash for at least 20 minutes; check fixer freshness |
| Overlapping frames | Film loaded incorrectly in camera or faulty transport mechanism | Check camera film transport and practice loading technique |
| Uneven density across frame | Uneven chemical flow or light leak in tank | Agitate consistently and inspect tank for cracks or a loose lid |
| Film feels sticky after drying | Insufficient washing or residual fixer on film | Rewash thoroughly for 10 to 15 minutes and use a wetting agent in the final rinse |
| Blank film — no images at all | Film not exposed, or developer completely inactive | Test camera shutter, check film was loaded correctly, and ensure chemicals are fresh |
| Negatives too dark or too light to scan | Incorrect exposure in camera or development error | Adjust camera exposure settings and re-check development times and temperatures |
| Staining on film | Dirty tank or reels, or insufficient stop bath | Clean all equipment thoroughly and ensure stop bath is properly applied and rinsed |
| Light leaks on negatives | Camera seals failing, or tank not fully closed during processing | Check camera light seals and ensure the tank lid is firmly seated before development begins |
Not every problem originates in the development process itself — sometimes the issue goes further back. A persistent pattern of odd exposures or frame irregularities on otherwise well-developed negatives may point to the camera rather than the chemistry. I investigated exactly this when a run of otherwise normal rolls turned out to be linked to a possible Canon 300V shutter failure.

The starting point: a roll of exposed film and everything needed to develop it at home.

Lomography Lady Grey 400 — one of many 35mm black and white films that develop beautifully at home. See the full Lady Grey review for development notes.
If you are still deciding which film to develop, the film selection guide covers the main black and white options across different speed ranges. For a detailed look at how extended development affects results when shooting in low light, the guide to pushing film picks up directly where this one leaves off. And for individual film notes, the Ilford HP5 Plus review, Ilford FP4 Plus review, and Fomapan review all include development observations from real field use.
This post is part of the Film Photography Hub — a complete guide to shooting, developing and understanding black and white film.