What this guide covers: What pushing film actually means, why you would do it, and what it does to grain, contrast and shadow detail in practice — with real results from Ilford HP5 Plus and Kodak Tri-X 400.
Films covered: Ilford HP5 Plus 400, Kodak Tri-X 400, Ilford FP4 Plus 125. Developer used: Rodinal. Cameras used: Zenza Bronica ETRSi (120 format) and 35mm SLRs.
Skill level: Assumes basic familiarity with film photography. If you are new to the process, the film development guide is a good place to start before reading this.
Pushing film sits at the point where technical necessity and deliberate aesthetic choice overlap. It is a technique that gets used routinely in difficult light — and, with practice, comes to feel less like a workaround and more like a natural part of how you see a scene. Whether the light is failing at dusk, or you are working handheld in a forest where a tripod would be impractical, knowing how far your film can be pushed — and what it will look like when you get there — is genuinely useful knowledge.
I push film regularly, mostly Ilford HP5 Plus and Kodak Tri-X 400, and almost always in the Bronica ETRSi when I am shooting medium format handheld. This guide covers what pushing actually does — not just technically, but visually — with real examples from the field rather than test charts.
What Does Pushing Film Mean?
Pushing film means deliberately underexposing your film in the camera, then compensating during development by extending the time the film spends in the developer. You set your camera’s ISO dial higher than the film’s rated box speed — so a roll of HP5 rated at ISO 400 might be metered and shot at ISO 800 or ISO 1600 — and then tell the lab or, if you develop at home, calculate a longer development time to bring back the exposure.
The mechanism is straightforward: the developer needs more time to work on a film that received less light. Extended development compensates for underexposure by increasing the density of the silver in the highlights and upper midtones. What it cannot do is recover detail that was never recorded — shadow areas that received almost no light will simply go dark, and this is one of the defining visual characteristics of pushed film.
The opposite technique — exposing at a lower ISO than the box speed and reducing development time — is called pulling, and it has the reverse effect: lower contrast, softer grain, and retained highlight detail at the expense of shadow depth.
Why Push Film?
The practical reasons are obvious enough: more usable shutter speed in low light, the ability to shoot handheld where you would otherwise need a tripod, and the flexibility to keep using a film stock you already have loaded rather than switching mid-roll. But pushing film is not only a technical solution to a light problem. It has a look — one that photographers have sought out deliberately for decades.
Pushed film is higher in contrast, deeper in the blacks, and grainier in a way that reads as texture rather than noise. In landscape work, particularly in early morning light or in the compression of winter, that quality can be exactly what a scene asks for. The grain becomes part of the image rather than a defect to be minimised.
The reasons I reach for pushing in the field most often are: low light at sunrise or in woodland; shooting handheld with the Bronica where I need a faster shutter to avoid camera shake; and a deliberate preference for the higher-contrast, more atmospheric look it produces in overcast or flat conditions. For the latter, it is a creative choice as much as a technical one — and that distinction is worth holding onto.
What Pushing Actually Looks Like
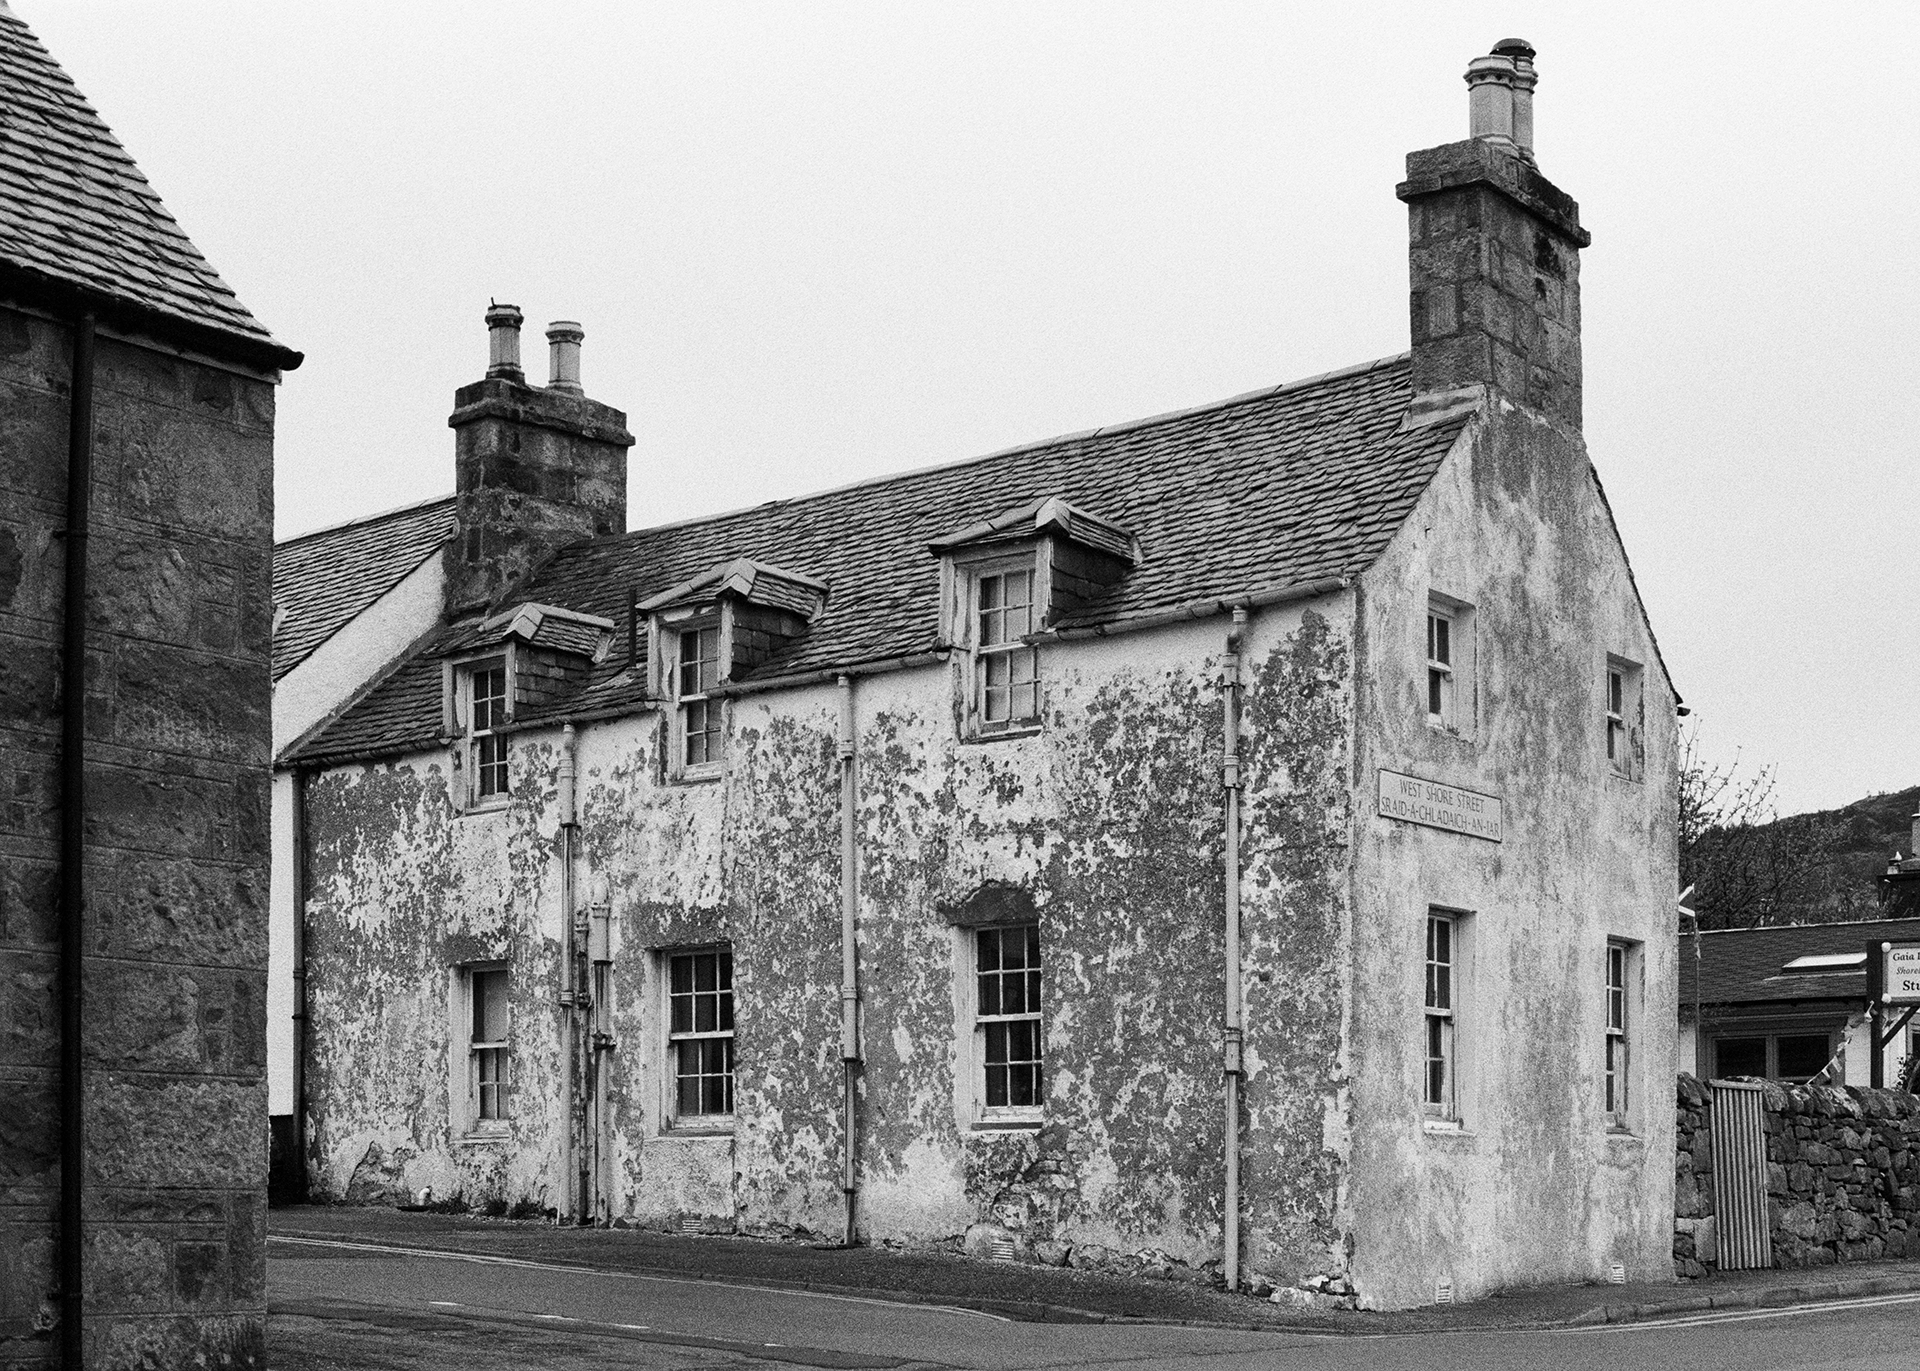
Ilford HP5 pushed one stop to ISO 800 — shot on 35mm. The tonal compression and slightly lifted grain are characteristic of a one-stop push: still clean, but with a noticeably more atmospheric quality than box speed.
The image above shows HP5 at a one-stop push — ISO 800 instead of the rated 400. This is the most conservative push, and the results are entirely predictable in the best sense: slightly more grain, noticeably more contrast, and a quality of light that suits certain scenes far better than a flat, clean box-speed exposure. The shadows are still open. Detail is retained across the tonal range. This is the push I reach for most often.

Kodak Tri-X pushed in development — an industrial unit near Thatcham, England. The characteristic Tri-X tonality becomes more pronounced under extended development: deeper blacks, sharper grain structure, and a contrast that suits industrial and architectural subjects particularly well.
Kodak Tri-X behaves differently under a push than HP5. Where HP5 remains relatively smooth, Tri-X develops a sharper, more crystalline grain structure that suits certain subjects — architecture, urban photography, anything where texture is part of the image rather than incidental to it. The image above shows that quality clearly: the grain is working with the subject, not against it.
One Stop, Two Stops, Three Stops — What Changes
| ISO Setting | Push Level | Grain | Contrast | Shadow Detail |
|---|---|---|---|---|
| 400 (box speed) | None | Low | Moderate | High |
| 800 | +1 stop | Medium | Increased | Good |
| 1600 | +2 stops | High | Strong | Reduced |
| 3200 | +3 stops | Very high | Very strong | Limited |
The one-stop push at ISO 800 is where most photographers will spend most of their time. The results are predictable, the grain increase is modest, and shadow detail remains largely intact. It is a reliable technique rather than an experimental one, and HP5 handles it so smoothly that it is easy to forget you are pushing at all.
The two-stop push at ISO 1600 is where the aesthetic shift becomes harder to ignore. Shadows go deep, grain becomes a visible presence in the image, and contrast rises to a level that works well for certain subjects — street photography, architecture, anything where the relationship between light and dark is the point — but will feel heavy-handed in others. This is still a usable, controlled result with HP5 and Tri-X, but it requires more thought about whether the look suits the subject.
Beyond 1600, you are in genuinely experimental territory. A three-stop push produces very high contrast, pronounced grain, and significant loss of shadow detail. There are images that this serves well — but they tend to be images where those qualities are the intention rather than a side-effect. It is not a technique for capturing detail or subtlety.
Which Films Handle Pushing Best?
Ilford HP5 Plus is the most forgiving film for pushing. It is widely available, consistent in its behaviour, and handles a two-stop push without falling apart — the grain increases and contrast rises, but the overall tonality remains pleasing. It is the film I would recommend to anyone trying pushing for the first time, and it remains my most-used film for this technique in medium format.
Kodak Tri-X 400 behaves differently but equally well. The grain structure is sharper and more crystalline under a push, and the contrast has a harder edge than HP5 — which makes it the better choice when that quality is what you are looking for. Tri-X pushed to 1600 has a particular look that has been sought out deliberately by photographers for decades, and it remains distinctive.
Ilford FP4 Plus can be pushed, but it is a slower film rated at ISO 125, and pushing it a stop brings you only to ISO 250 — not a particularly useful destination in most situations. It is not the tool for this job, though it can handle a modest push without significant problems. For pushing, start with a 400-speed film.
When to Push
- Low light without a tripod
- Faster shutter speed needed for handheld work
- You want higher contrast and more atmosphere
- Grain texture suits the subject
- Shooting at dusk, dawn, or in woodland
When Not to Push
- You need maximum shadow detail
- The scene has a wide dynamic range
- You want a clean, low-grain result
- Light is adequate at box speed
- Subject requires subtlety in the tones
Pushing Film in Development — What Changes
The development side of a push is straightforward in principle: extended time in the developer compensates for underexposure by increasing density in the highlights and upper midtones. In practice, the adjustment is calculated from a development chart — the Digitaltruth Massive Dev Chart is the standard reference — by looking up your specific film, developer, and push level.
With Rodinal at 1+50, development times lengthen noticeably for each stop of push. Temperature remains fixed at 20°C; it is time alone that changes, not dilution or agitation pattern. The agitation method — 30 seconds continuous at the start, then 10 seconds per minute — stays the same whether you are developing at box speed or pushing two stops.
One practical point: if you are shooting a whole roll at a pushed ISO, the entire roll is developed for the pushed time. You cannot push individual frames. This means committing to the technique before you shoot rather than deciding afterwards — which is part of what makes pushing a deliberate choice rather than a post-production correction.
Pushing Film vs Pulling Film
Pulling film is the reverse: you expose at a lower ISO than the box speed — overexposing the film in camera — and reduce development time to bring contrast and density back to a workable level. Where pushing increases grain and contrast, pulling reduces both and tends to produce softer, more detailed highlights.
Pulling is useful when you are shooting in very bright conditions with a film that is faster than the situation demands, or when you want a flatter, lower-contrast negative with more latitude in the highlights. It is less commonly used than pushing, but worth understanding as a companion technique.
Where to Start
If you have not pushed film before, load a roll of HP5 Plus, set your camera to ISO 800, and shoot it in the kind of light where you would normally reach for a tripod or feel uncertain about exposure. Develop it for the appropriate pushed time using Rodinal or whatever developer you have, and compare the results to your box-speed negatives. The difference will be immediately apparent — and once you have seen it, you will know whether that quality serves the work you are making.
From there, a two-stop push at ISO 1600 is the logical next step. Beyond that, experiment carefully — knowing that the results become progressively more stylised and less forgiving of any other technical imprecision in the process.
For individual film notes and development observations, the HP5 Plus review and Tri-X review both include pushed results from real shoots. The film development guide covers the development process in full if you are working out the home processing side at the same time. And the guide to choosing the right film covers the broader question of which stock to load before the question of how far to push it arises.
This post is part of the Film Photography Hub — a complete guide to shooting, developing and understanding black and white film.