What this covers: What film grain actually is — physically, chemically, and visually — how it differs from digital noise, what controls it, and how to think about it as a creative element rather than a defect to be managed.
Films referenced: Ilford HP5 Plus 400, Ilford FP4 Plus 125, Rollei Ortho 25, Kodak Tri-X 400. Developer used: Rodinal.
Film grain is one of those things that photographers either pursue deliberately or try to minimise — and occasionally do both at the same time, depending on what the image asks for. It is also one of the most misunderstood qualities in photography, partly because it gets conflated with digital noise, and partly because the word “grain” covers a range of effects that are quite different from each other in practice.
This piece tries to explain what grain actually is, what produces it, how to control it, and when to let it do its work in an image.
The Physics of Film Grain
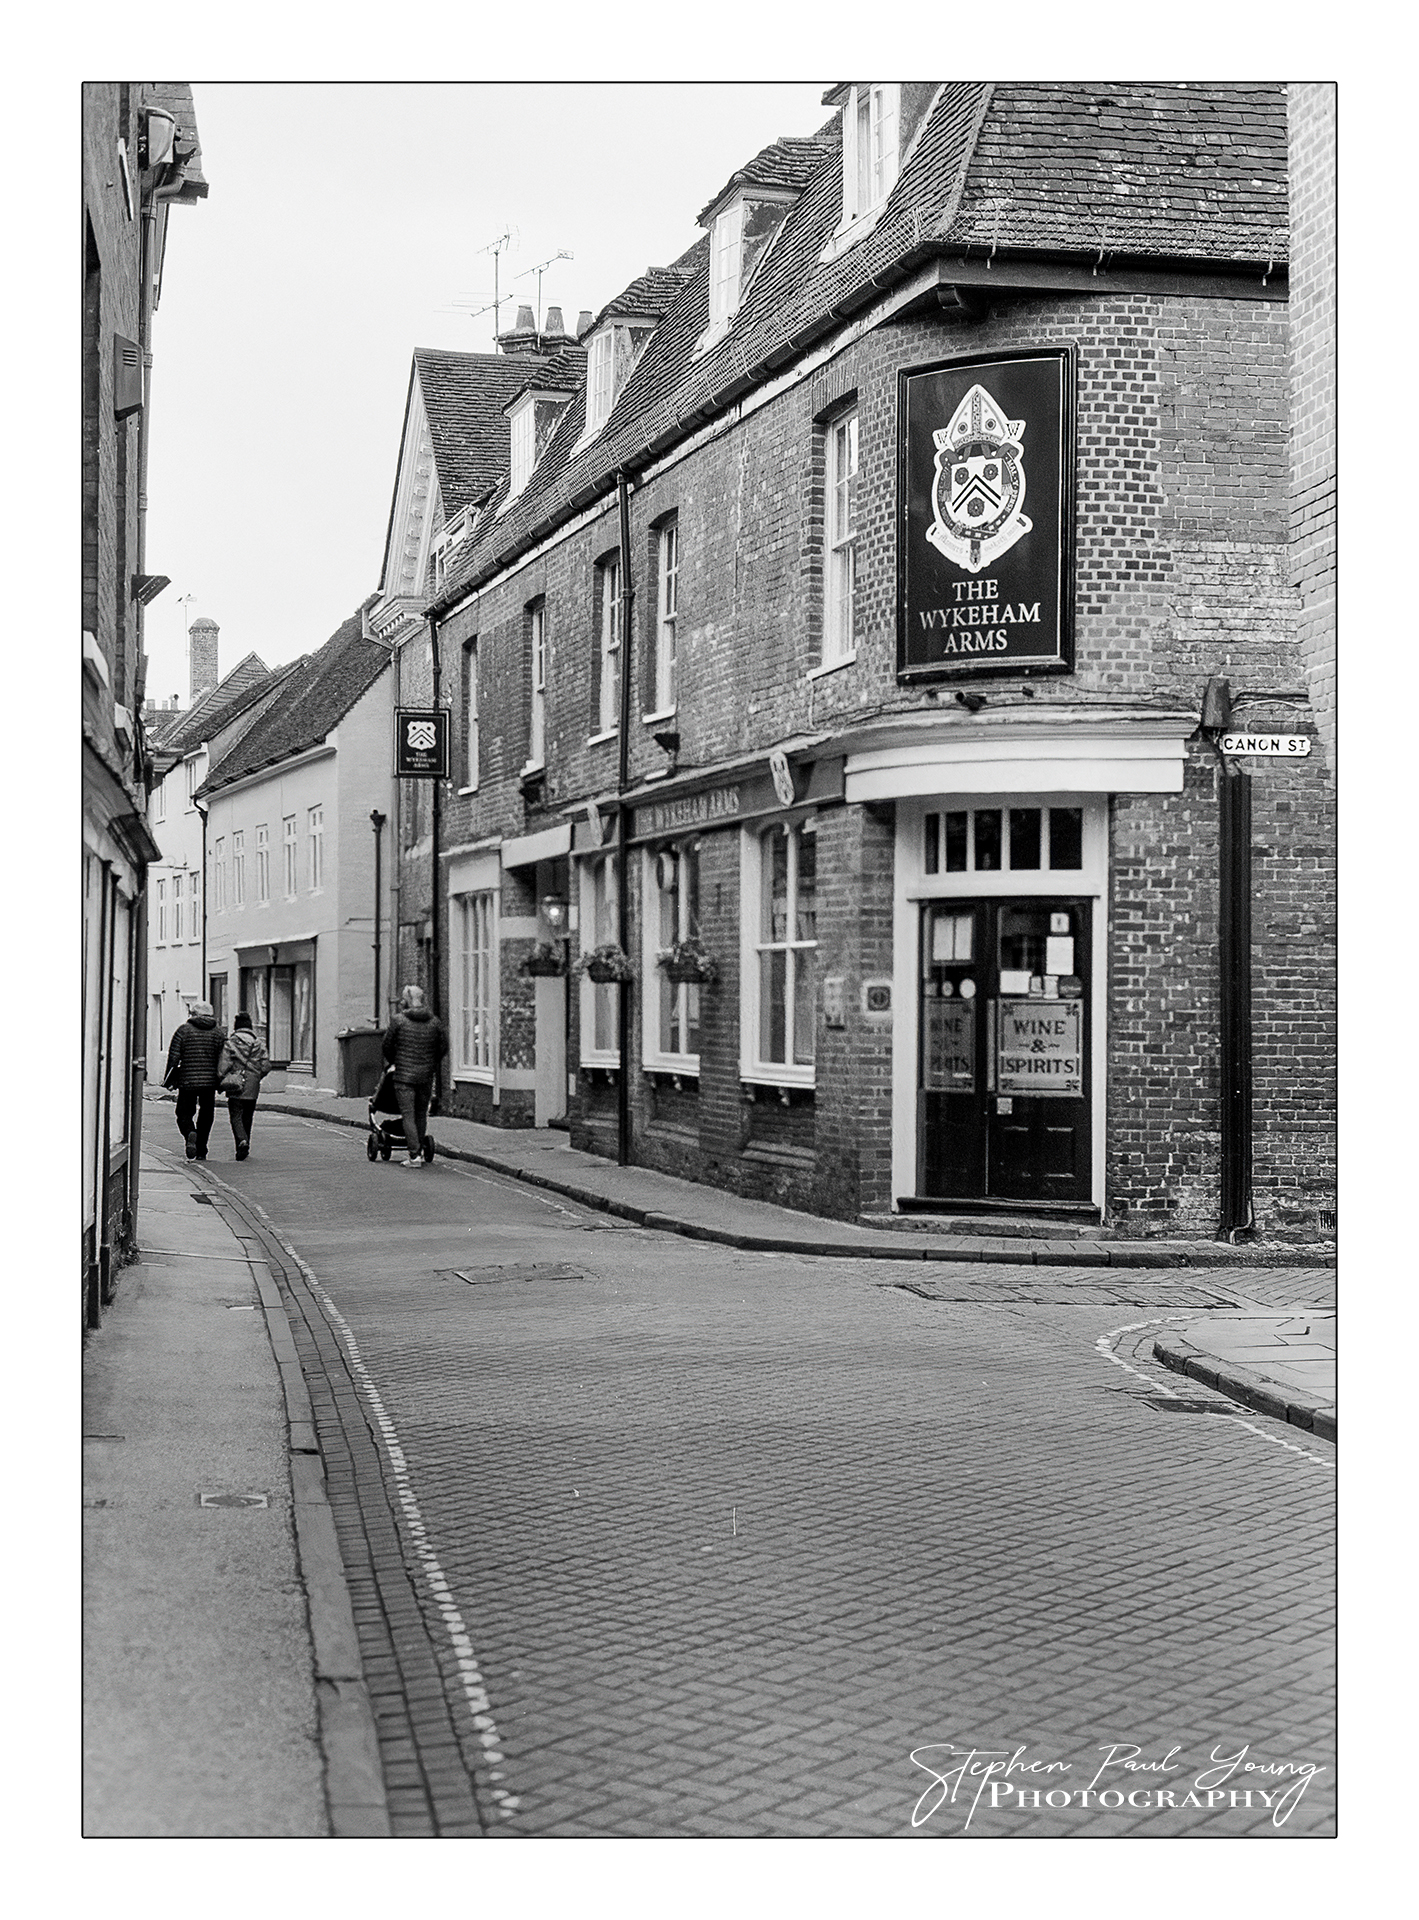
The Wykeham, Winchester — 35mm black and white film. Street photography and architectural subjects reward grain: the texture belongs in the scene rather than working against it.
Film grain is the visible result of the silver halide crystals embedded in the photographic emulsion. When light strikes the film, these crystals undergo a chemical reaction — exposed crystals are converted to metallic silver during development, creating the dark areas of a negative. The crystals that receive no light are removed by the fixer. What remains is an image made of silver, and the visible structure of that silver is what we call grain.
The critical thing to understand is that film grain is not uniform. The silver halide crystals in the emulsion are distributed randomly, which means the grain pattern in any given image is also random — no two frames are identical at the microscopic level. This randomness is precisely what gives film grain its organic, textured quality. It is not a repeating pattern or a mathematical artefact. It is the physical trace of chemistry in action.
Digital noise, by contrast, is an electronic artefact — the result of thermal or electrical interference in the camera’s sensor, particularly at high ISO settings. It shares a superficial visual similarity with film grain, but it has a different structure: it tends to cluster in individual colour channels rather than appearing as luminance variation across all channels, which gives it a speckled, multicoloured character that is very different from the silver-based structure of true grain.
What Makes Grain More or Less Visible
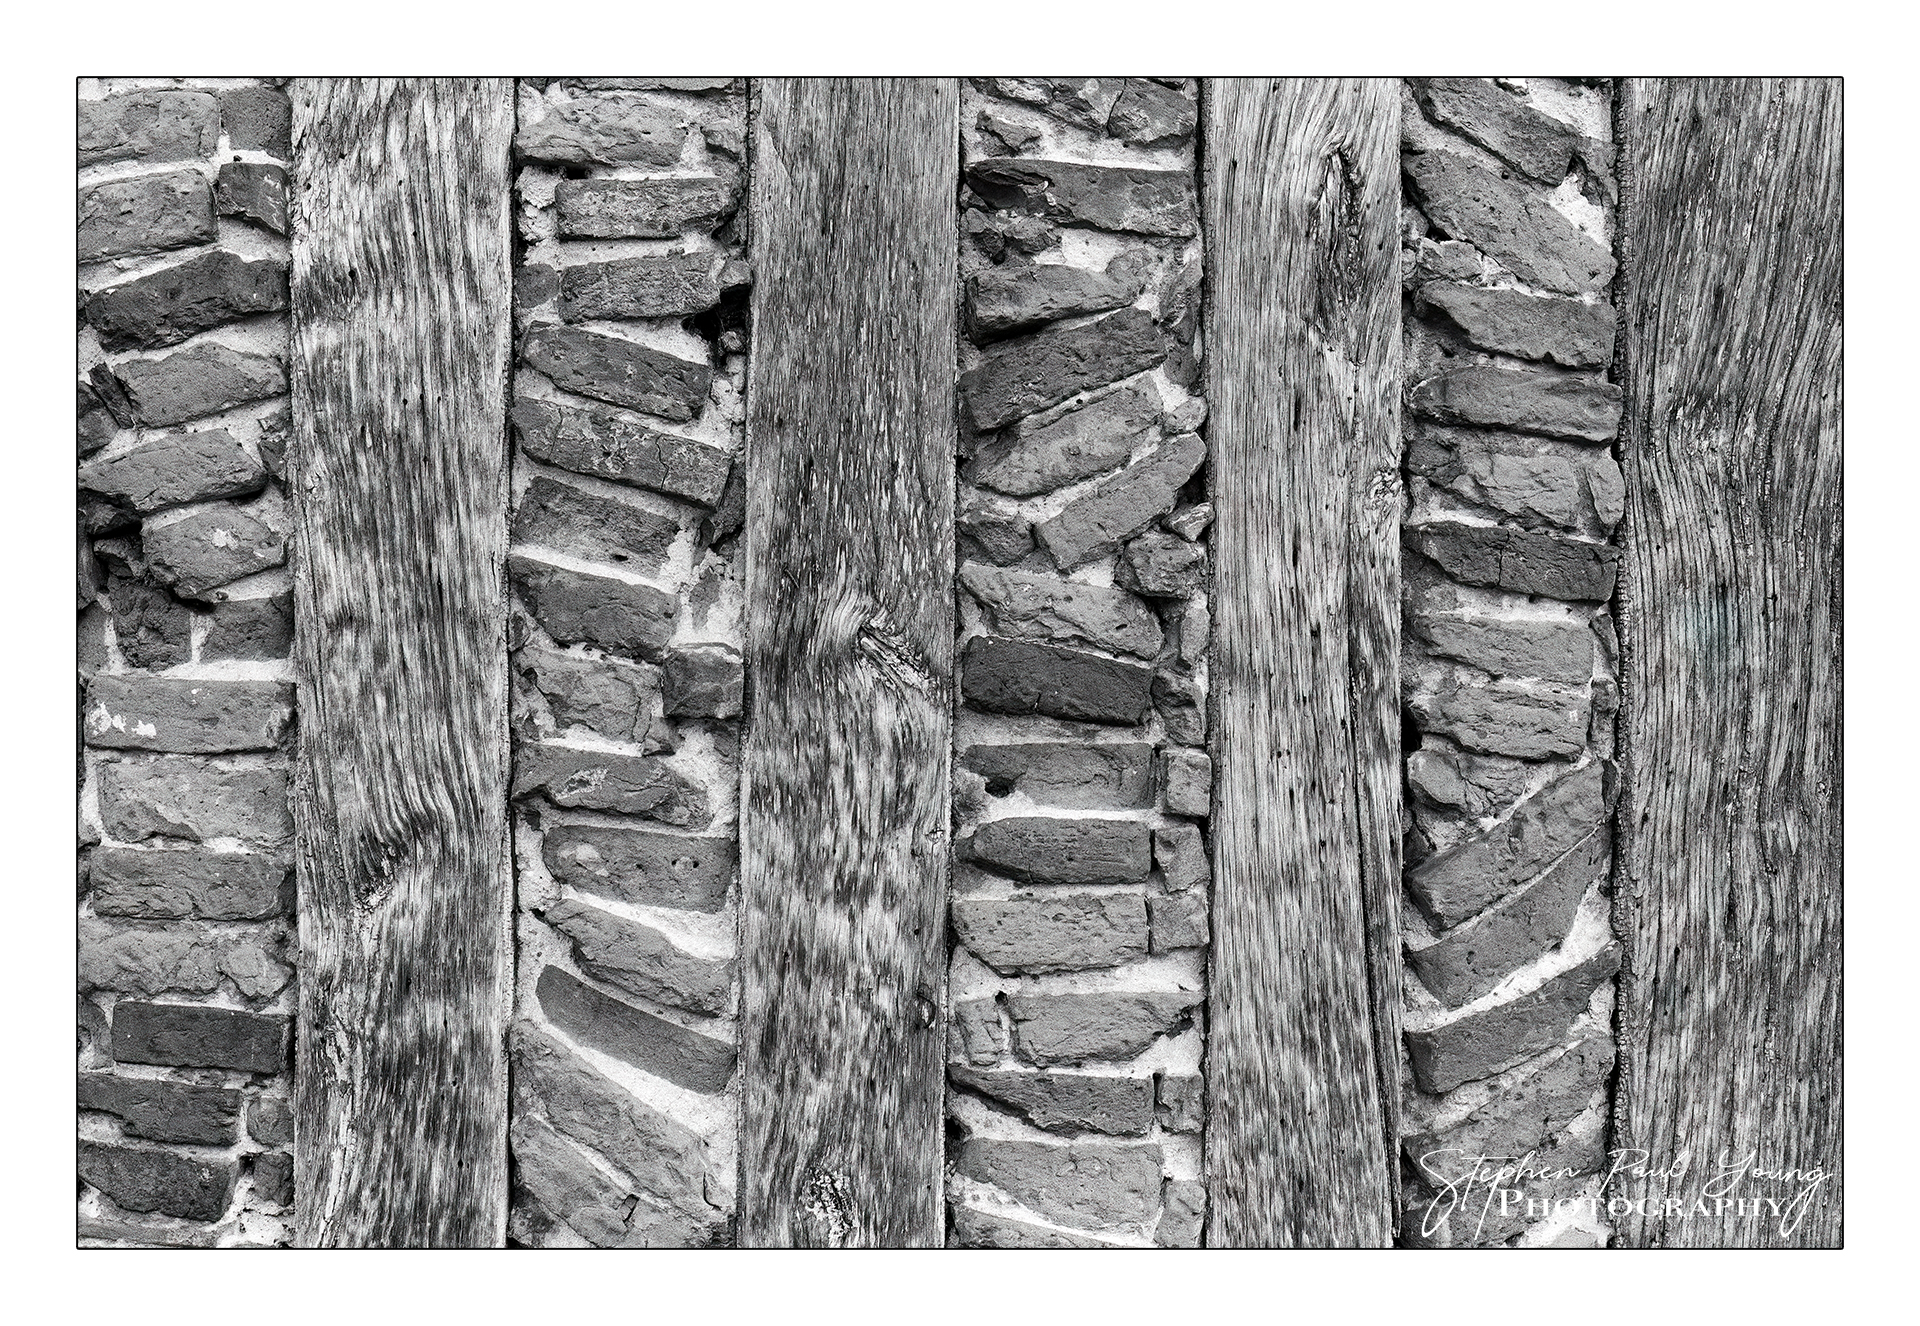
Old timber and stonework — film. Grain and texture reinforce each other in subjects like this. The grain reads as part of the surface quality of the image rather than as interference.
Several factors determine how prominent grain appears in a final photograph. Understanding them gives you real control over the quality of your negatives rather than leaving it to chance.
Film speed (ISO rating) is the primary factor. Faster films — ISO 400 and above — contain larger silver halide crystals, because larger crystals are more sensitive to light. Those larger crystals produce more visible grain. Slower films, like Rollei Ortho 25 at ISO 25 or Ilford FP4 Plus at ISO 125, have finer crystal structures and produce noticeably finer grain. The relationship is direct: the more sensitive the film, the more pronounced the grain.
Pushing film amplifies grain further. When you expose a film at a higher ISO than its rated speed and extend development time to compensate — pushing film — the extended development causes the silver to clump more aggressively, producing both higher contrast and more pronounced grain. A roll of HP5 pushed two stops to ISO 1600 will have distinctly chunkier, more textured grain than the same film shot at box speed.
Developer choice and dilution also affects grain structure. Rodinal, used at high dilutions like 1+50 or 1+100, tends to produce a pronounced, sharp-edged grain with excellent acutance — the grain is visible but distinct, with clean edges that contribute to an overall impression of sharpness. Other developers, particularly fine-grain developers like Perceptol or Kodak XTOL, use a different chemical mechanism that dissolves the outer edges of silver crystals, producing finer and less obtrusive grain at the cost of a slight reduction in sharpness.
Exposure matters too. Underexposed negatives — thin negatives with little silver density — tend to show grain more prominently because there is less image information to contextualise it. Well-exposed, slightly dense negatives suppress the visual impact of grain in shadows and midtones. This is one of several reasons why correct exposure in camera produces better negatives than trying to rescue underexposure in development.
| Factor | Effect on Grain | Notes |
|---|---|---|
| High ISO film (400+) | More pronounced grain | Larger silver halide crystals in emulsion |
| Low ISO film (25–125) | Fine, smooth grain | Smaller crystals, tighter grain structure |
| Pushing film | Significantly more grain | Extended development causes silver clumping |
| Rodinal (high dilution) | Pronounced, sharp-edged grain | High acutance — grain looks crisp and distinct |
| Fine-grain developer | Finer, softer grain | Dissolves crystal edges — slight loss of sharpness |
| Underexposure | More visible grain | Thin negatives show grain in shadows |
| Correct exposure | Grain better integrated | Denser negative holds grain more gracefully |
Film Grain Examples — What It Looks Like
The images below are all shot on black and white film and show grain behaving differently depending on subject, lighting, and film stock. Grain is not a single quality — it varies enormously depending on what you are shooting, how you exposed the film, and how it was developed.


Left: chairs outside an old Scottish alehouse — grain suits the roughness of the subject. Right: Inverness shopping centre — grain gives the flat architecture more surface interest than a clean digital image would.
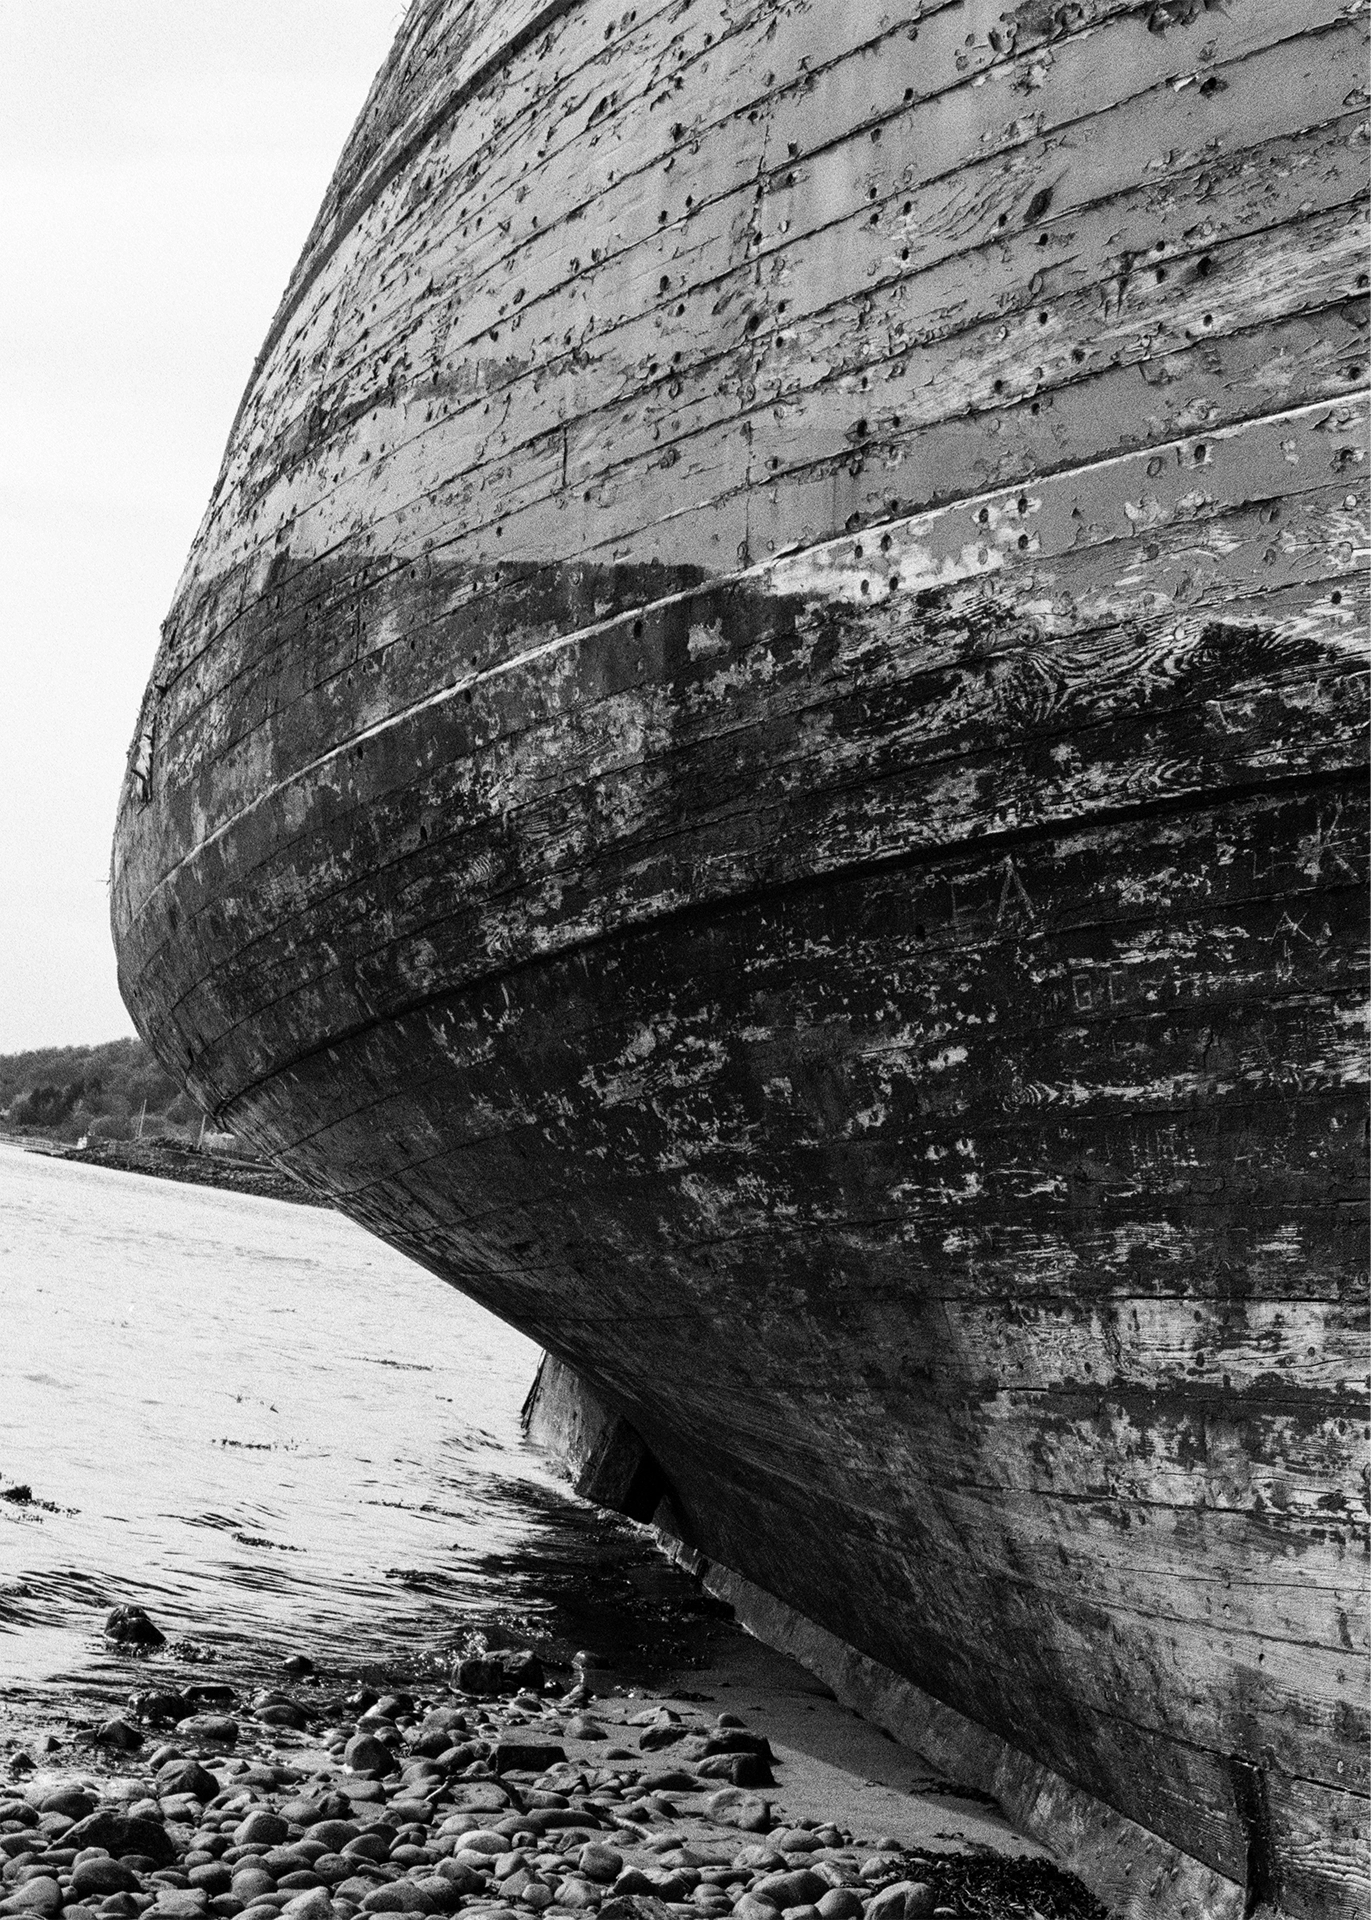

Left: beached boat hull — grain and wood texture work together, the image reading as a study in surface. Right: stormy skies over a canal lock — grain in a sky can either add atmosphere or read as noise; here the tonal variation in the clouds integrates it.
The boat hull image above illustrates something important about grain: it works best when the subject has its own texture. Rough wood, stone, weathered surfaces, and atmospheric skies can absorb visible grain and make it feel intrinsic to the image. Smooth-toned subjects — skin, still water, clear skies — are less forgiving, and heavy grain in those areas can feel more like interference than character.
When to Embrace Grain, and When to Minimise It
The question of whether more or less grain is desirable has no universal answer — it depends entirely on what the image is doing and what you want it to feel like. But there are some patterns worth knowing.
Grain suits subjects where texture, atmosphere, and a sense of time are part of what the photograph is about. Street photography, architectural studies, landscapes in difficult light, and documentary work all respond well to visible grain — it adds a quality of presence, a sense that the image was made in a real place under real conditions rather than produced with clinical precision. The photographers whose work is most strongly associated with grain — from the street photography tradition through to contemporary documentary — used it as a deliberate quality rather than a limitation to be overcome.
Grain is less welcome when maximum detail is the point. Fine-art landscape prints at large sizes, portraits where skin tone matters, wildlife photography where feather or fur detail is the subject — these benefit from the finest grain structure you can achieve. That means slower film, correct exposure, and a fine-grain developer rather than Rodinal at high dilution.
For my own landscape work, the choice varies by project. The long-term Calleva work at Silchester benefits from the grain of HP5 Plus in medium format — the texture adds a quality that suits the ancient, weathered character of the location. Work where fine tonal gradation across a chalk hillside matters more tends to go onto FP4 Plus or Rollei Ortho 25, where grain is far less obtrusive.
Controlling Grain — A Practical Summary
To maximise grain: shoot a fast film (ISO 400 or above), push it one or two stops, and develop in Rodinal at 1+50. The combination of large crystals, extended development, and a high-acutance developer produces the most pronounced grain structure available from standard materials.
To minimise grain: choose a slow film (ISO 25 to 125), expose correctly or slightly generously, and develop in a fine-grain developer at the recommended dilution and time. Rodinal is not the right tool here — its high-acutance character emphasises rather than suppresses grain structure.
In post-production, digital scans of film negatives can have grain reduced using noise-reduction software, though aggressive application softens the image overall. Adding digital grain to a digital photograph is a different exercise — the result can be convincing at a glance, but the structure is mathematically generated rather than physically produced, and it reads differently on close inspection.
What exactly is film grain made of?
Film grain is metallic silver — specifically, the silver that remains in the emulsion after development converts exposed silver halide crystals into their metallic form and the fixer removes the unexposed ones. The random distribution of these crystals across the emulsion surface is what creates the grain pattern. Each frame is unique at this level of detail.
Why does film grain look different to digital noise?
Film grain is a luminance phenomenon — it appears as variation in brightness across all tonal areas of the image, with a random organic structure. Digital noise has a different origin (electronic interference in the sensor) and tends to cluster in individual colour channels, giving it a speckled, multicoloured appearance at the pixel level. Most people find film grain more aesthetically pleasing because its randomness reads as organic rather than electronic.
Which film has the most visible grain?
Among commonly available stocks, Kodak Tri-X 400 pushed to ISO 1600 or 3200 produces the most prominent grain of any standard film. Ilford HP5 Plus pushed similarly also produces very pronounced grain, though its structure is somewhat smoother than Tri-X. Specialty films like Lomography Lady Grey or certain Fomapan stocks also produce distinctive grain at box speed.
Which film has the finest grain?
Rollei Ortho 25 is among the finest-grained films currently available — its ISO 25 rating reflects a very fine crystal structure and the resulting negatives have an almost grainless quality at normal print sizes. Ilford Pan F Plus 50 is similarly fine-grained. Ilford FP4 Plus 125 offers fine grain at a more practical ISO for general use.
Does developer choice really affect grain?
Yes, significantly. Rodinal — my developer of choice — produces sharp, pronounced grain with high acutance. Fine-grain developers such as Perceptol or XTOL use a different solvent action that smooths the edges of silver crystals, producing finer grain at the cost of a slight reduction in edge sharpness. The choice of developer is as much a part of your film’s character as the film stock itself.
Can grain be added to digital photographs?
Yes — most raw processing software, including Lightroom, includes grain simulation tools. The results have improved considerably and can be convincing, particularly for small prints or screen-viewed images. Whether simulated digital grain reproduces the quality of true film grain is a matter of ongoing debate; at close inspection the mathematical regularity of generated grain is usually distinguishable from the random structure of the real thing.
How does grain relate to pushing film?
Pushing film — exposing at a higher ISO than the box speed and extending development time to compensate — directly increases grain. Extended development causes more aggressive silver clumping in the emulsion, producing both higher contrast and more visible grain. The full explanation of the technique and its effects is in the guide to pushing film.
This post is part of the Film Photography Hub — reviews, guides, and real-world observations from shooting and developing black and white film.