About This Hub
I’m Stephen Paul Young, a fine art landscape photographer based in North Hampshire. What draws me to landscape photography is the connection to place — and the way a landscape changes through time. I work slowly, returning to the same locations across different seasons, weather conditions, and qualities of light rather than chasing new destinations. The process becomes as important as the photograph itself, allowing me to build a deeper understanding of a place and its character.
I rarely treat a location as a one-off visit. Many of my photographs come from repeated walks over months or even years — observing how light, atmosphere, and subtle details shift with each return. Familiarity often reveals images that would be missed entirely on a first visit.
North Hampshire keeps drawing me back because it is home. Its ancient woodlands, old pathways, remnants of history, open farmland, and quiet corners offer an endless source of inspiration. Places such as the Roman walls at Silchester, the landscapes around Watership Down, and the surrounding countryside are woven into my own story — making the photographs as much about memory and connection as they are about the landscape itself.
About Stephen Paul Young
Fine art landscape photographer · North Hampshire · Film & digital · Best Fine Art Landscape Photographer 2025 — Creative & Visual Arts Awards
Long-Term Projects
My landscape work is organised around long-term projects rather than single images. Each project explores a specific place or theme over an extended period, building a body of work that captures the full character of a location across time. You can explore the current projects, view galleries, and purchase fine art prints below.
Field Journals
Alongside the blog posts collected here, I produce free downloadable Field Journals — short zines combining photography, notes from the field, and reflections on place and process. They’re free to download and a good companion to the writing in this hub.
Browse Field Journals →Landscape photography is about more than scenery. It’s about light, atmosphere, and timing—returning to places and waiting for the right moment rather than simply recording what’s there.
This hub brings together location-based photography, seasonal work, and practical techniques, all rooted in real-world shooting across North Hampshire and the surrounding landscape.
Explore Landscape Photography Content
Below you’ll find all landscape photography articles, location guides, and field work.

Summer Solstice Sunrise at Avebury — Photography from the Stone Circle, June 2026
By Stephen Paul Young · Landscape Photography · 21 June 2026 · Gallery at Base of Page The alarm went off at 2.15am. Outside, it was already the soft grey of a midsummer pre-dawn — the kind of light that doesn’t get properly dark at this time of year in England. By 3.30am I was pulling into the National Trust car park at Avebury, Wiltshire, with my Canon R5, a 24-70mm EF L series lens, and the quiet anticipation that…
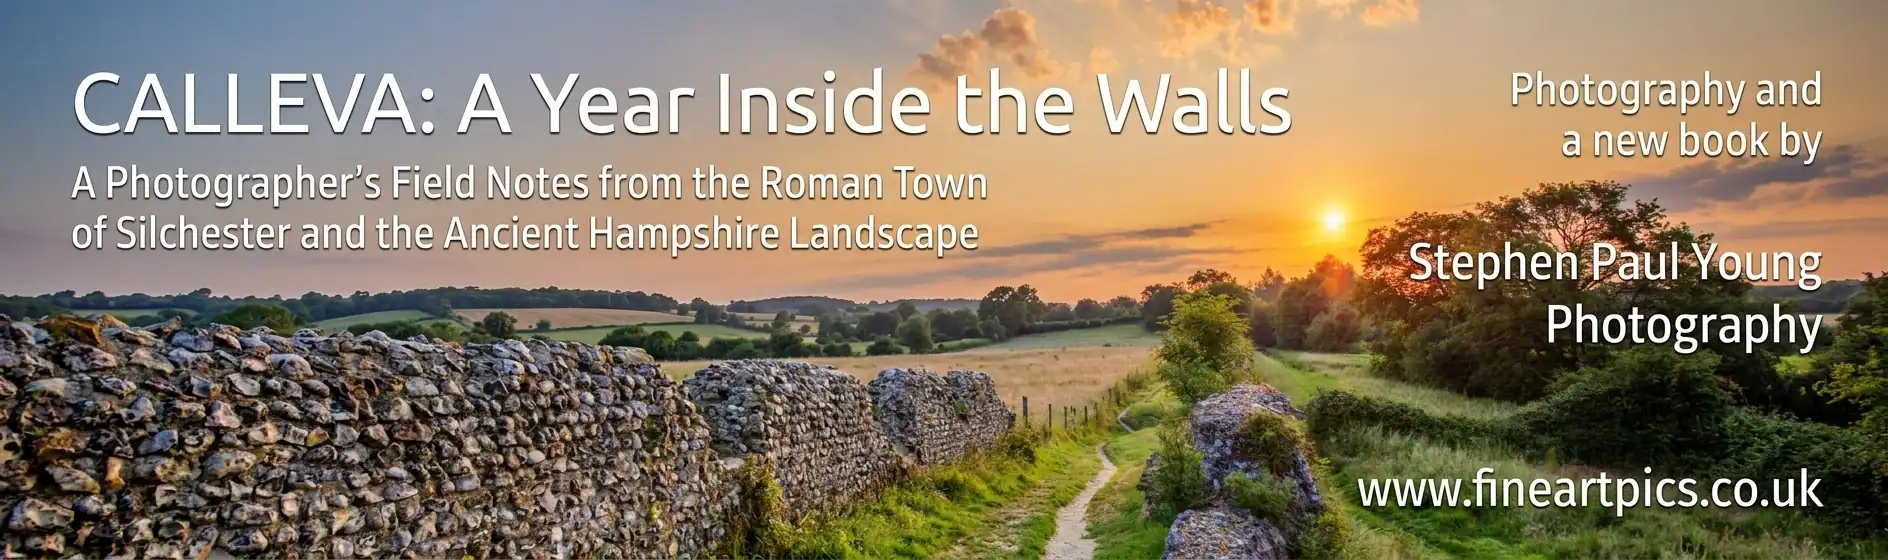
CALLEVA: A Year Inside the Walls — A New Book About Silchester’s Roman Landscape
By Stephen Paul Young · Fine Art Landscape Photography · Silchester, Hampshire Some places refuse to let go of the past. Calleva Atrebatum — the Roman town buried beneath the fields of Silchester in North Hampshire — is one of them. I have been walking its walls since I was a boy. For more than fifty years, the same two miles of ancient flint and lime mortar, the same field interior, the same church tower above the hawthorn at the…
Norway Landscape Photography: Two Weeks Across Fjords, Glaciers and Mountains
Location: Norway (Stavanger, Eidfjord, Briksdal, Åndalsnes) · Camera: Canon EOS 5DSR · Lens: 24-70mm EF L series Two weeks across Norway’s fjords, glaciers, and mountains, shot on a single camera and a single lens, with no particular agenda beyond seeing as much of the country as possible. Norway had been on my list for a long time. Not as a vague ambition but as a specific, recurring thought — the kind of destination that sits quietly at the back of…
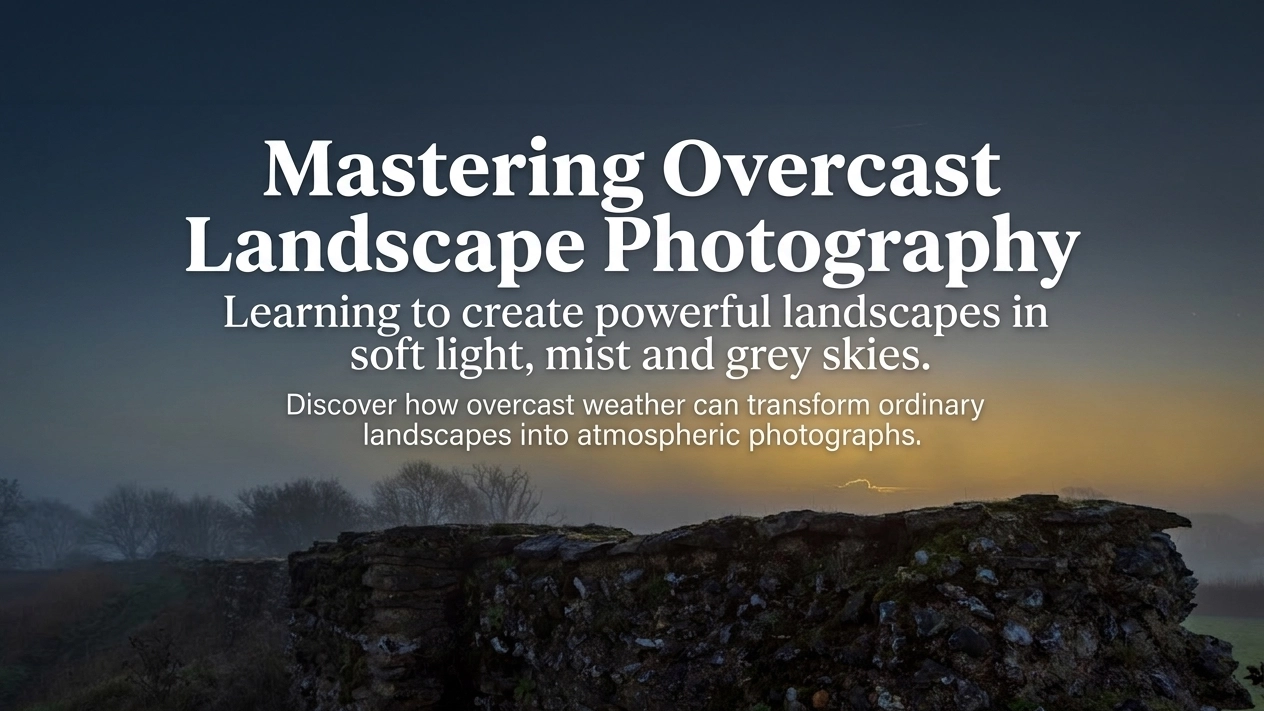
The Overcast Landscape – A Beginner’s Guide to Photographing British Landscapes
New Book: The Overcast Landscape — A Beginner’s Guide to Photographing Moody British Landscapes in Flat Light, Mist and Rain A practical guide for photographers who want to stop waiting for perfect light and start working creatively with the grey skies, mist and rain that define so much of the British countryside. For many photographers, grey skies are often seen as the wrong conditions for landscape photography. Cameras are packed away and plans are postponed until brighter light returns. But…
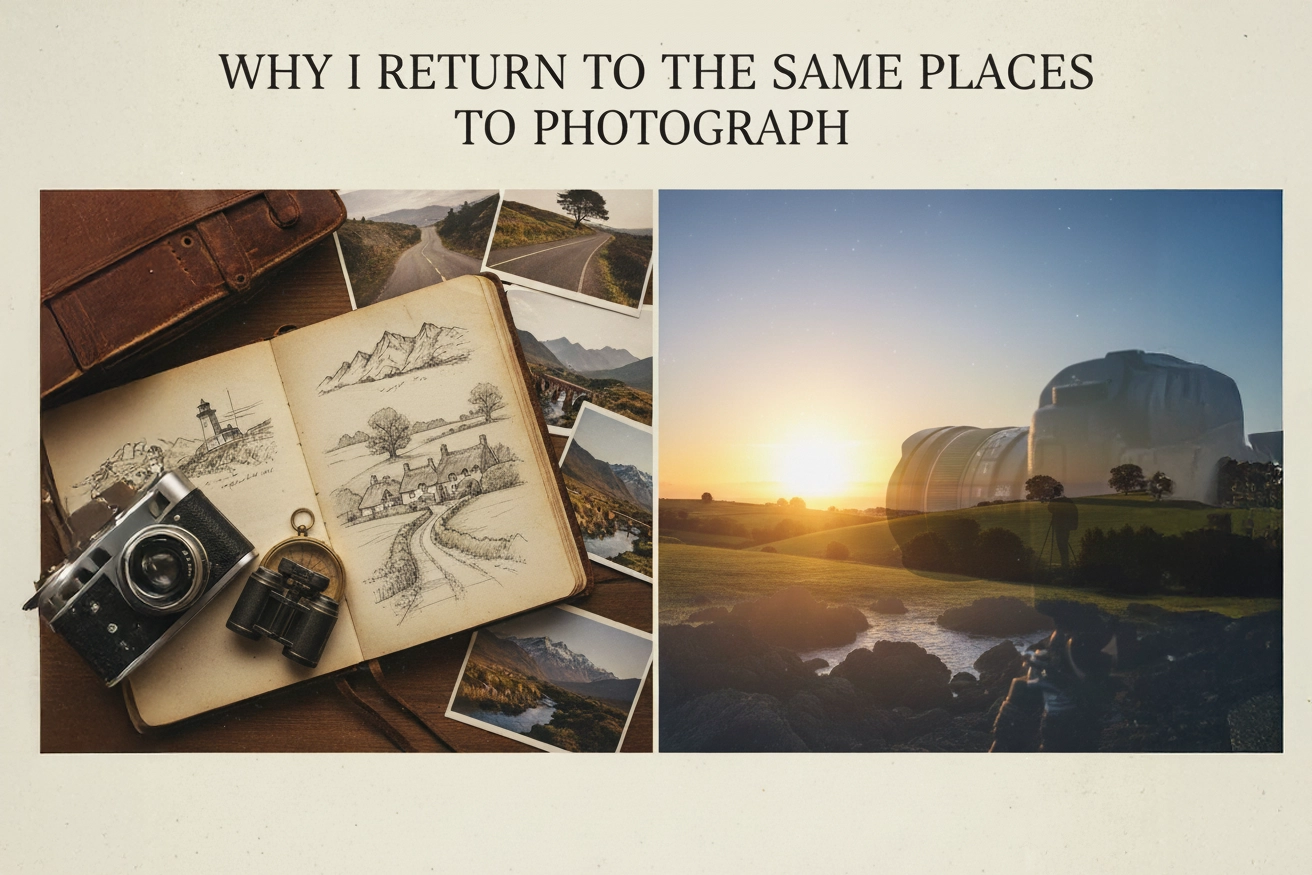
Revisiting Photography Locations: Why I Return to the Same Places
A reflective exploration of why revisiting familiar landscapes deepens creativity, patience, and emotional connection. Photography as a relationship with place.

Black and White Coastal Photography: Six Fine Art Studies (2025)
Black and White Coastal Photography There are places along the coast where the world feels pared back to its essentials — stone, sea, and sky. The more I photograph these elements, the more I realise how little else is needed. This new series of six black and white images, ‘Black and White Coastal Photography‘ created in 2025, explores the meeting point of land and water as a study in tone, texture, and silence. Colour often flatters the coast. It tempts…
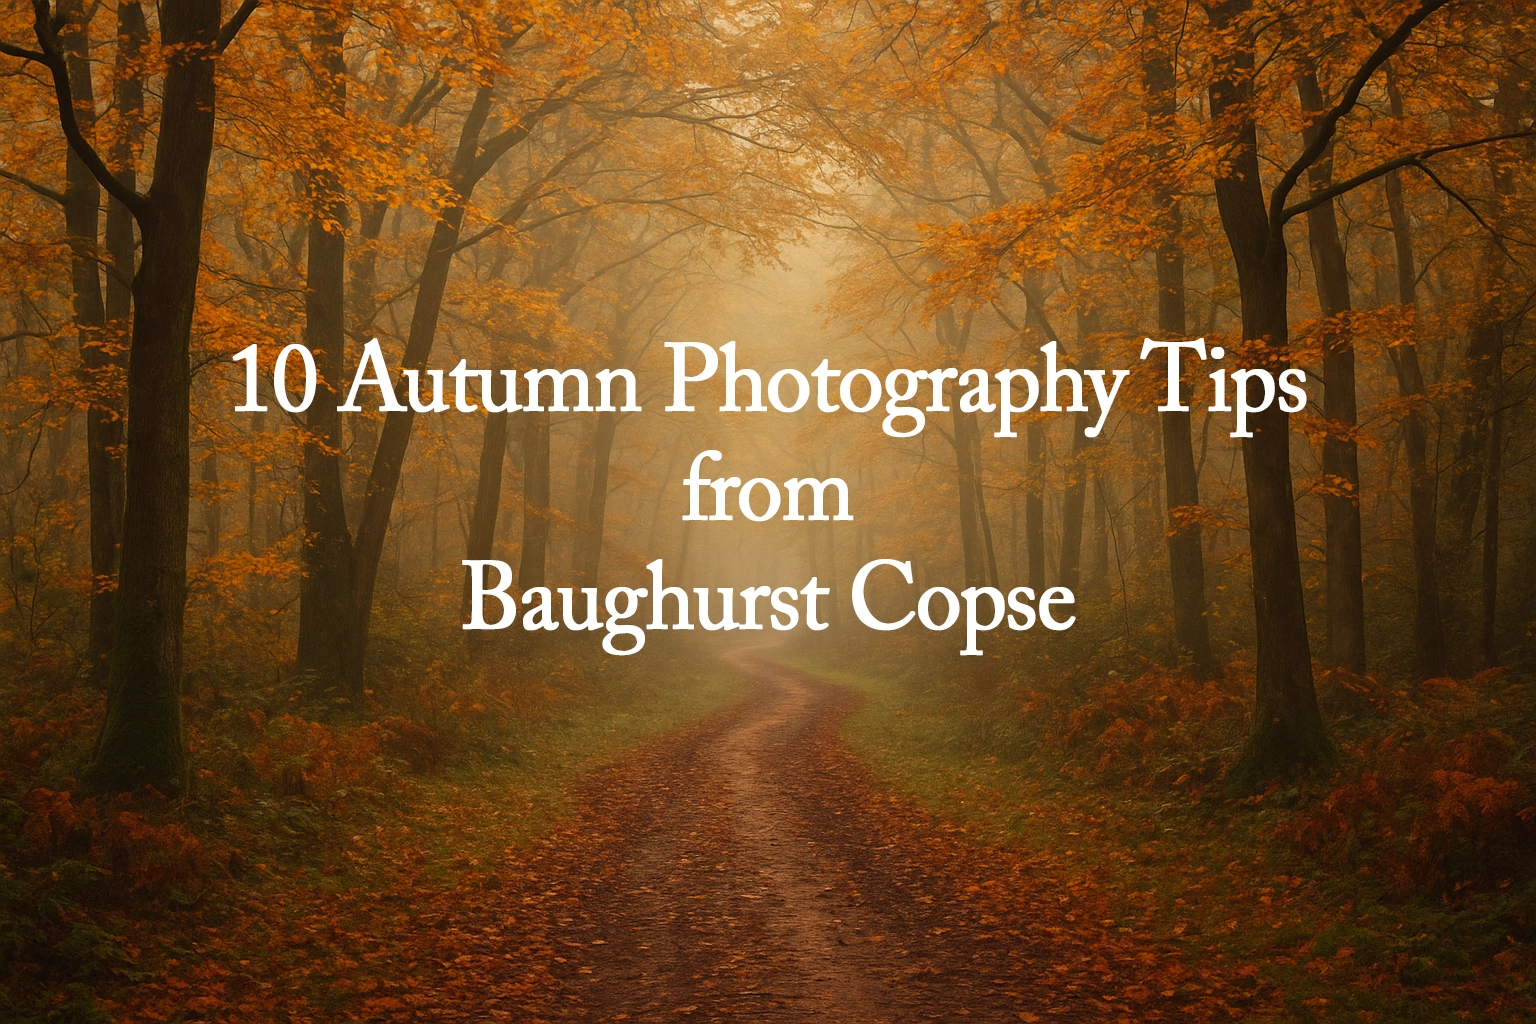
10 Autumn Woodland Photography Tips from Baughurst Copse
Autumn comes softly here, beneath the canopy of Great Haughurst Copse — a season stitched together from wind, woodsmoke, and the slow drift of colour through the trees. In autumn woodland photography, the mornings are filled with movement: deer slipping through wet bracken, jays cracking acorns in the hush before rain. Each path feels alive, expectant, as though the land itself is turning a page. These are the days when the camera becomes less a tool and more a companion — a…

Photos from Watership Down
Walking through the rolling hills of Hampshire, the sun beating down on my shoulders (Early Spring 2025), I couldn’t help but feel an overwhelming sense of tranquility. The charm of these Photos from Watership Down, near Kingsclere, is undeniable — a landscape steeped in natural beauty and literary history. As a photographer, it felt like the perfect opportunity to grab my Canon R5 and see if I could capture the essence of this picturesque walk. But as much as the sun…

Dawn Landscape Photography on Watership Down to Ladle Hill Walk
This morning, I ventured out on one of my favorite photography walks in the UK countryside—the stunning route from Watership Down to Ladle Hill. Known for its rolling hills and historic landscapes, this area in Hampshire is a dream for anyone interested in dawn landscape photography. With temperatures dipping to -3°C and a crystal-clear sky, the conditions were perfect for capturing frosty morning photography during the magical moments just before and after sunrise. How to Get There The Watership Down…

Early Morning Photography on the Kennet and Avon Canal at Aldermaston Wharf
An early morning photography walk in winter offers a unique atmosphere for photography, and the Kennet and Avon Canal at Aldermaston Wharf provided the perfect setting. Armed with my newly acquired Canon EOS R5 and the reliable 24-70mm L-series EF lens, I ventured out to capture the quiet beauty of the winter season. Pre-Dawn Stillness Early Morning photography is all about embracing the soft, muted tones of the pre-dawn hours. The cold air, though not frosty, added a subtle crispness…

Canon EOS R5 Review — Wildlife and Landscape at Watership Down
By Stephen Paul Young · Canon EOS R5 Review · Wildlife & Landscape Photography The Canon EOS R5 is the camera that replaced my Canon EOS 5DS R after years of faithful service — and the first outing told me almost immediately that the upgrade had been the right decision. I took it to Watership Down on a cool, overcast December morning with the Sigma 150-600mm Sport mounted, looking for Red Kites and whatever else the chalk hills chose to…

Reflection Photography of Norway
Norway is a land of dramatic contrasts, perfect for reflection photography, from its towering peaks to its glass-like fjords, where nature’s beauty is reflected with pristine clarity. On a recent trip, I had the chance to capture this breathtaking landscape in a series of eight black-and-white images. These photographs, all square crops, offer a unique perspective on the stillness and tranquility that exists in the midst of this rugged and raw environment. Each image focuses on the delicate balance between…
Frequently Asked Questions
What is fine art landscape photography?
Fine art landscape photography is photography made with an artistic intention rather than a purely documentary one. The aim is to convey atmosphere, emotion, and a sense of place — not simply to record what was there. It typically involves careful composition, deliberate use of light, and a considered relationship with the subject over time. The resulting images are produced as prints for collectors and interior spaces.
Where does Stephen Paul Young photograph?
The majority of the work at FineArtPics is rooted in North Hampshire, England — particularly the landscapes around Watership Down, the Roman walls at Silchester (Calleva Atrebatum), and the surrounding countryside. Occasional work extends further afield, including wildlife photography in Norway. The focus is always on sustained engagement with specific places rather than broad travel photography.
How do I get started with landscape photography in the UK?
The most useful thing you can do is choose somewhere close to home and return to it repeatedly — in different seasons, different weather, and different light. The British countryside rewards patience. You don’t need to travel to dramatic locations; the familiar and the overlooked often yield the most interesting photographs once you slow down enough to look properly.
What is the best time of day for landscape photography?
Golden hour — the hour after sunrise and before sunset — is well known for good reason. The light is directional, warm, and flattering to most landscapes. But it isn’t the only time worth shooting. Overcast days produce even, diffused light that works well for woodland and intimate scenes. Fog and mist, most common in autumn mornings, can transform a familiar landscape entirely. The honest answer is that any light condition has potential — the key is understanding what each one offers.
Can I buy landscape photography prints from FineArtPics?
Yes. Fine art landscape prints from the North Hampshire projects are available through the FineArtPics shop. Prints are produced to archival standards, and shipped within the UK. Each project page — Echoes of Calleva, Between Fog and Light, and Watership Down — includes its own gallery and print shop.